Easy No-Cook Brownies

Here’s our slightly modified easy no-cook brownies recipe!

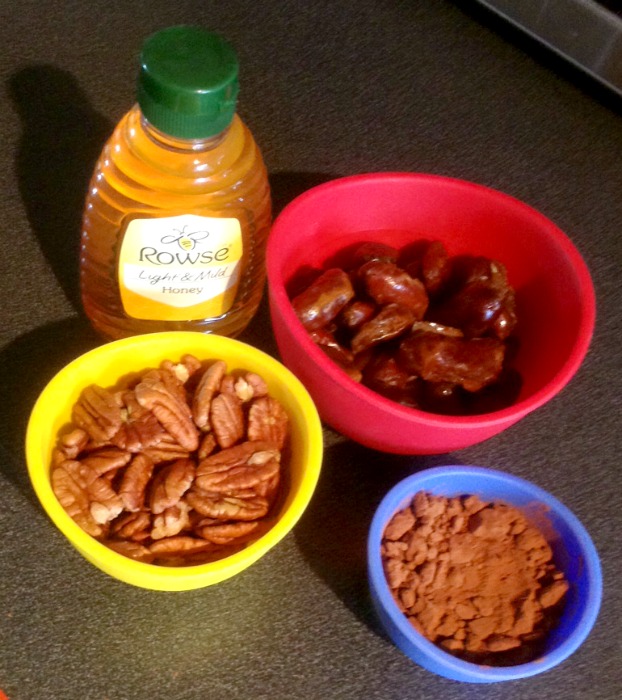
To make these no-cook brownies you need the following :

1 cup of pecans

1 cup of dates

a third of a cup of cocoa powder

one small person for squishing (not literally, just for the mixture, honest).

no-cook brownie ingredients

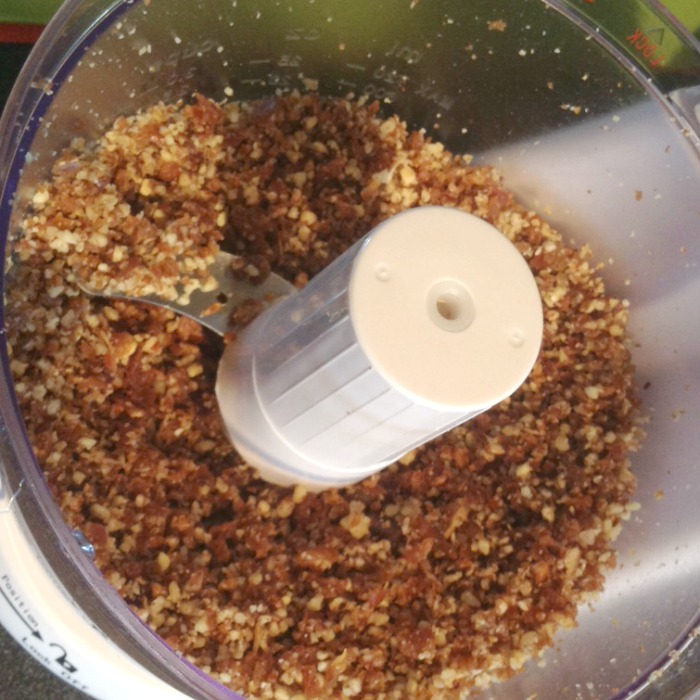
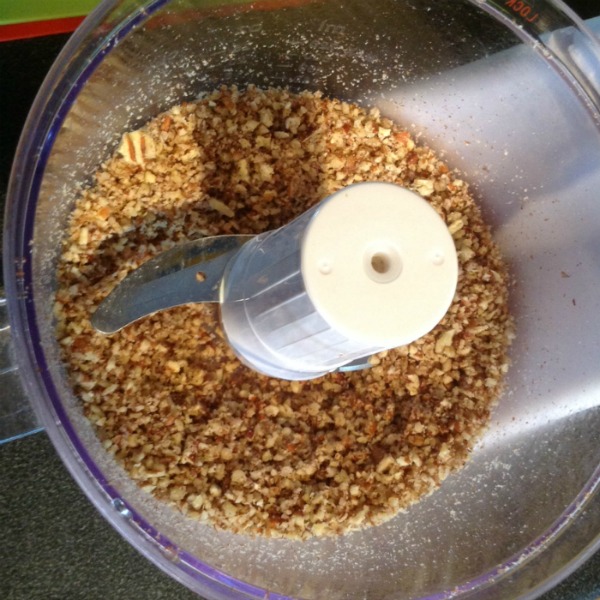
I blasted the pecans in my processor until they looked like this.

pecan no-cook brownie

Add the dates and process them again.

pecan and date no-cook brownie

Then finally added the cocoa powder.

The no-cook brownies mixture felt a bit dry so I added some honey to make it a bit stickier (a not too generous squeeze, enough to make it moist but not sticky).

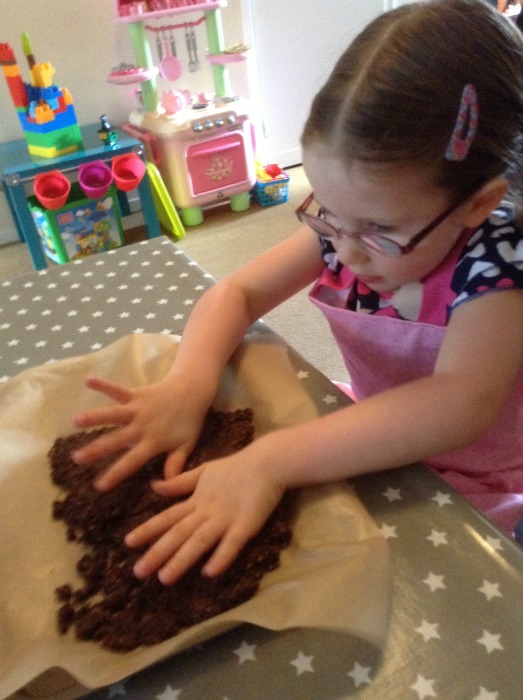
After that it was a case of lining a tray with greaseproof paper, and getting H to squish the mixture so it was nice and flat.

chief no-cook brownie squisher

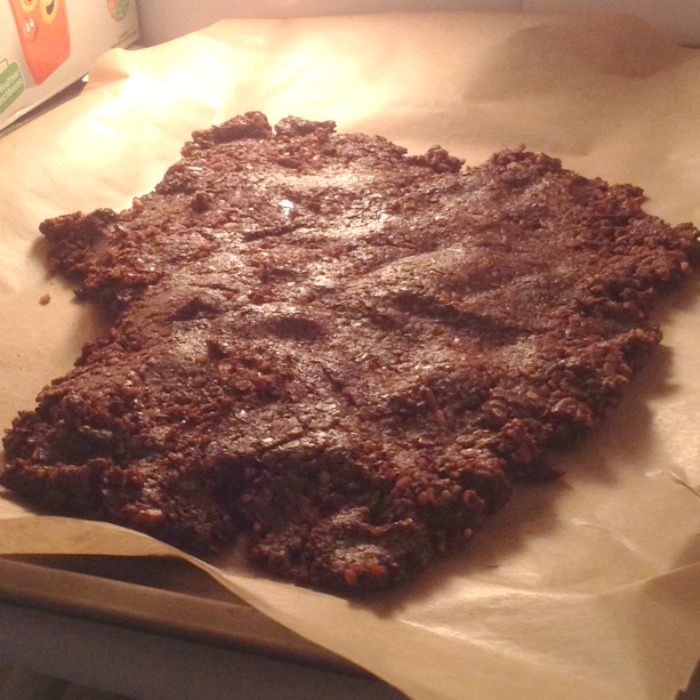
Put the no-cook brownies in the fridge to set….

pecan and date no-cook brownie

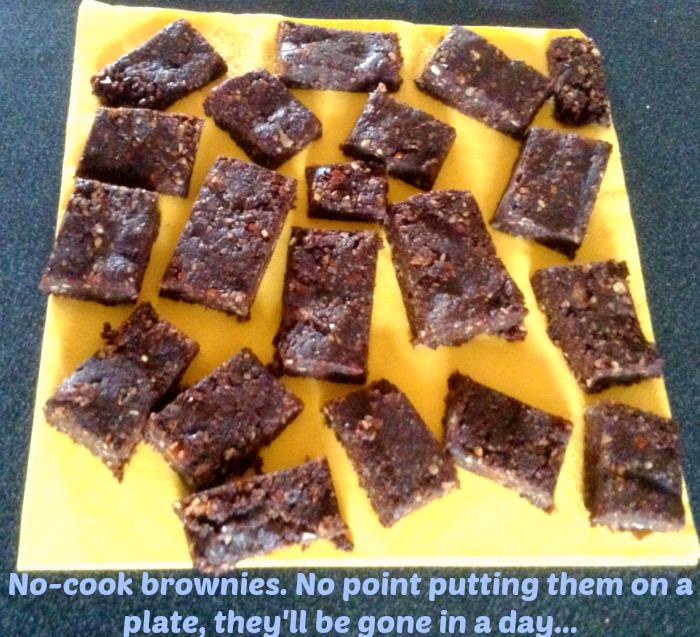
All you need to do after that is cut the brownies into pieces and try not to scoff it all at once. The no-cook brownies are really light, feel healthy, quite chocolatey (so if you want to reduce it, add less cocoa) and stick together well.

no cook brownies

This recipe is adapted from here and here.

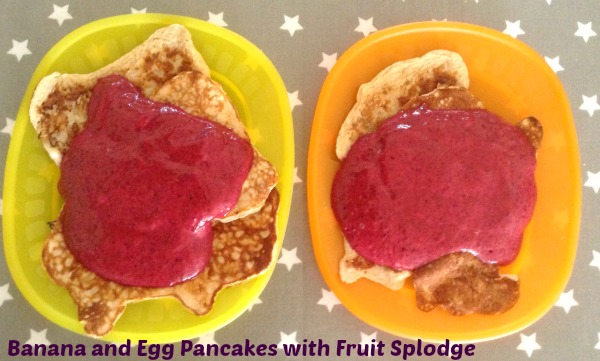
Banana and Egg Pancakes with Fruit Splodge

Recently a friend, Kelly, posted a recipe for Banana and Egg pancakes – so we had to give them a go as they look so easy.

Banana and egg pancakes are a really simple meal to make with just two ingredients. We added a fruit topping to it which in our usual style was a little over the top…

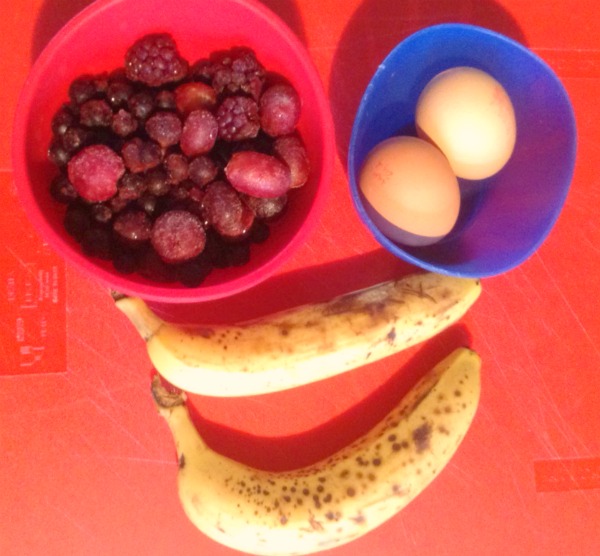
banana pancakes ingredients

What you need :

for the banana and egg pancakes:

a ripe banana
two eggs

small frying pan
oil for frying

for the fruit splodge:

however much frozen fruit you want (any fruit will do, but I like the cold of frozen fruit)
half a banana (chilled)
a splash of milk

banana pancakes

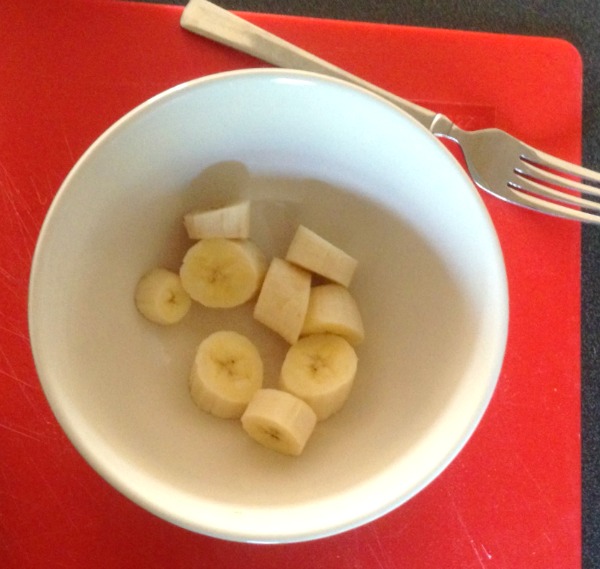
Get the banana and mash it up until there are very few lumps left – the riper the banana the better as otherwise they can be quite stiff.

banana pancakes

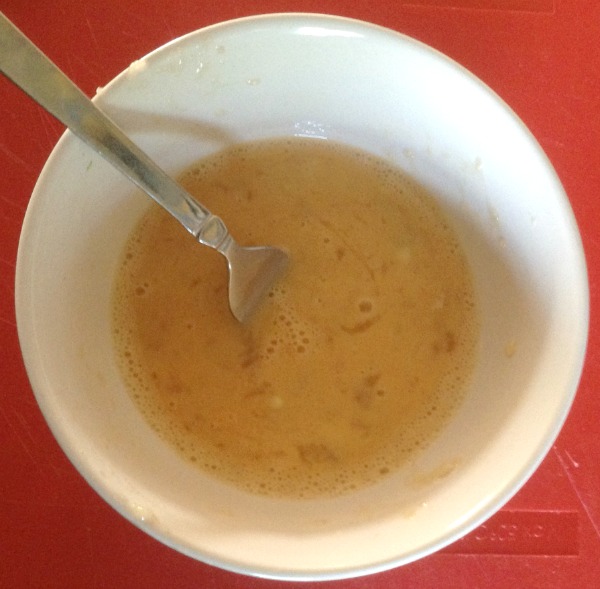
Add the two eggs. Beat the mixture until it’s a pancake-like mixture. A lot will depend on how well mashed the bananas are.

banana pancakes

I then got one of my measuring cups and scooped the mixture, putting it into the pre-warmed pan. Remember these are pancakes you’re working with so you don’t need a lot of mixture.

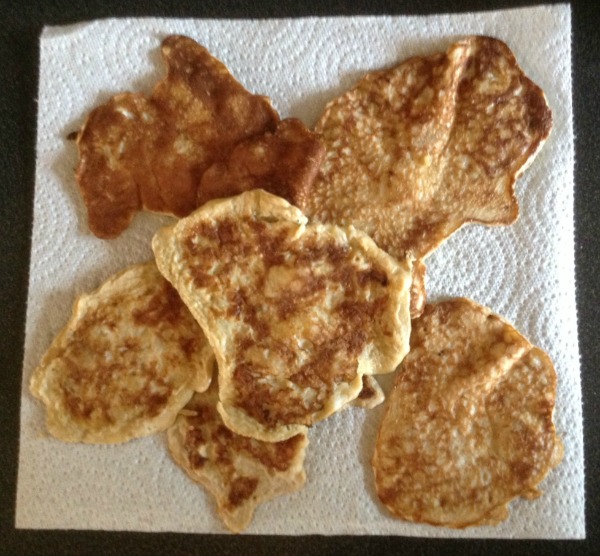
Each banana and egg pancake should take no more than 30 seconds to brown – turn them over and do both sides. They can burn easily so don’t forget they’re there. The mixture will make approximately 8 small pancakes or 5 bigger ones.

Once each banana and egg pancake is cooked, place on some kitchen roll to cool.

banana pancakes

Fruit splodge

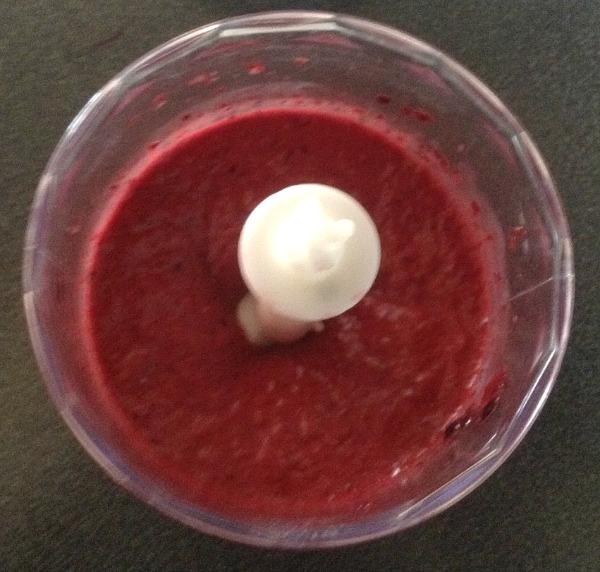
Get your frozen fruit (we’ve tried with frozen blueberries and with frozen black forest fruits from the Waitrose Essentials range) and put into a blender. Blend.

fruit splodge

Once the mixture looks like this, add half a banana. I have no idea why but it gives it a bit of an extra thickness. I add a tiny bit of milk too, and the mixture feels a bit like ice cream but without the sugar and cream. It should be too thick to pour but too thin to scoop, and you’ve got it just right.

Spoon on top of the banana and egg pancakes. Find you’ve made way too much but it’s okay as it’s all pure fruit anyway.

banana and egg pancakes and fruit splodge

If you’re doing Weight Watchers the only things which would count are the eggs and milk for this which would come in at 2.5 points. They’re gluten-free and really filling too!

I think the preparation time is around five minutes, cook time the same.

A Cadbury Experiment -Making Home Made Ice Magic #cbias

Are you old enough to remember Ice Magic? We are, and wanted to try making some home made ice magic – read on…

Home made ice magic is something I’ve often wanted to try. It’s a runny chocolate topper you put on ice cream, and it solidifies once it makes contact with the cold, leaving a crunchy chocolate top – oh and you can’t buy it any more. I’ve been dying for SO long to attempt to make our own and found that all it requires is chocolate and coconut oil. Our tub of oil was nearly empty so we picked some up when we went shopping in Sutton, before heading to Asda to pick up some Cadbury chocolate to do the hard work. There’s a Google+ album here.

After that it was all down to the preparation – we needed to make home made ice cream with our home made Ice Magic, obviously!

Strawberry was the flavour we opted for – put into the ice cream maker with the simple ingedients of 300g fresh strawberries, 200g double cream, 200g skimmed milk, two egg yolks and 70g icing sugar. I’ve posted the base recipe on here before now. It took about twenty minutes to prepare and with the chilled bowl having been in the freezer for over 24 hours it was ready to be kept fluid and aerated while getting colder.

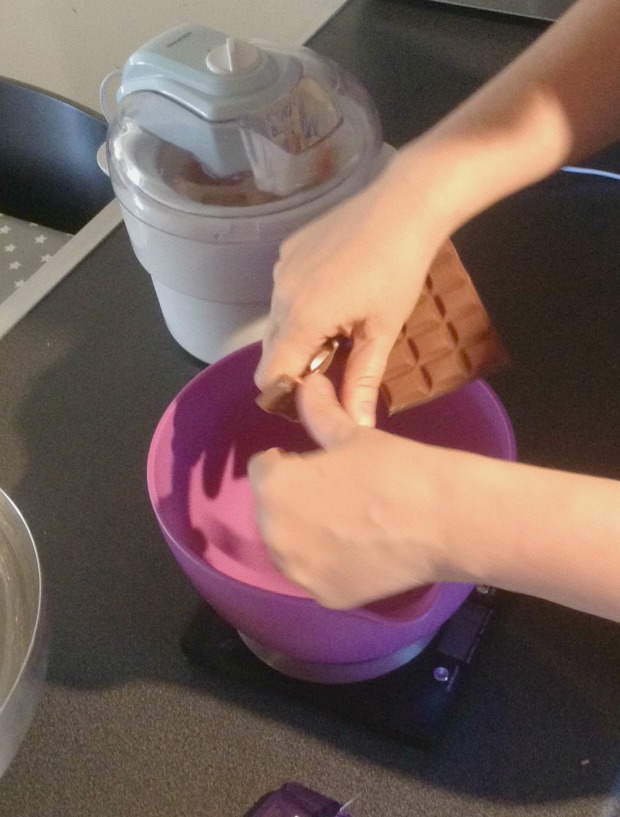
The experiment was next – our home made ice magic. I’ve been dying to try this for so long, so weighed out 200g of chocolate and broke it up. I used one plain Cadbury Dairy Milk and most of a Cadbury Dairy Milk with Oreo Cookies (this has bulked up the sauce and makes it hard to squeeze out of the bottle we’ve used, so I’d recommend a chocolate without extras).

breaking chocolate

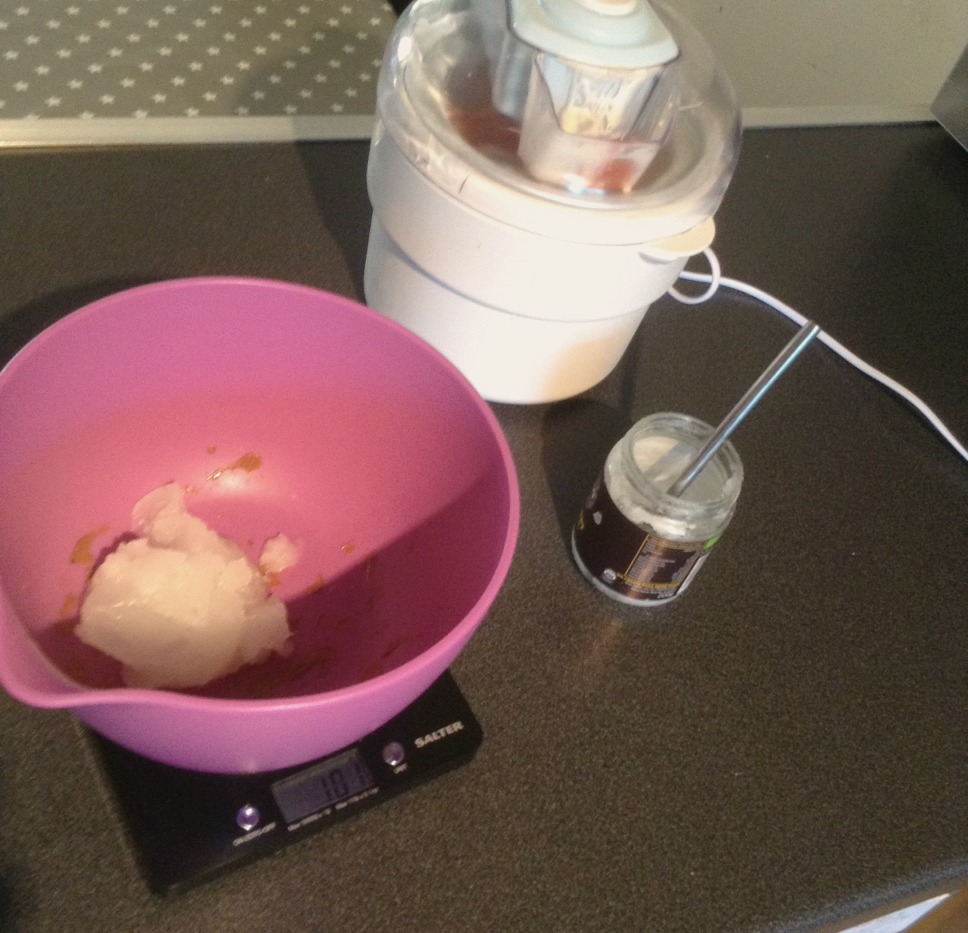
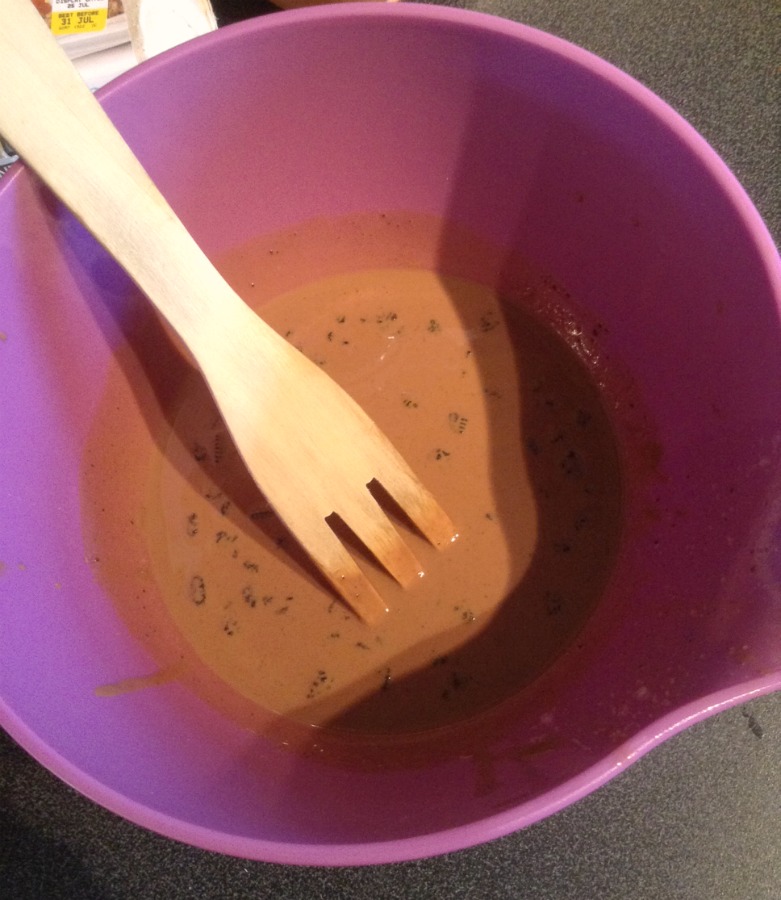
They were broken up and then melted over a pan of boiled water, and once smooth (with oreo bits in my case) I added 100g of coconut oil. The oil will stop the mixture from going solid (which is what you need it to do when it comes into contact with the cold ice cream). I’m wondering if this would also work for a fondue, so may have to try that another weekend…

coconut oil

Once the mixture was smooth looking (with bits of oreo floating in the top, sigh) I decanted it into an old ketchup bottle which made pouring over the ice cream much easier.

home made ice magic

It was ready but still soft so we put it in the freezer for a bit longer – you need it to be cold for the chocolate to set.

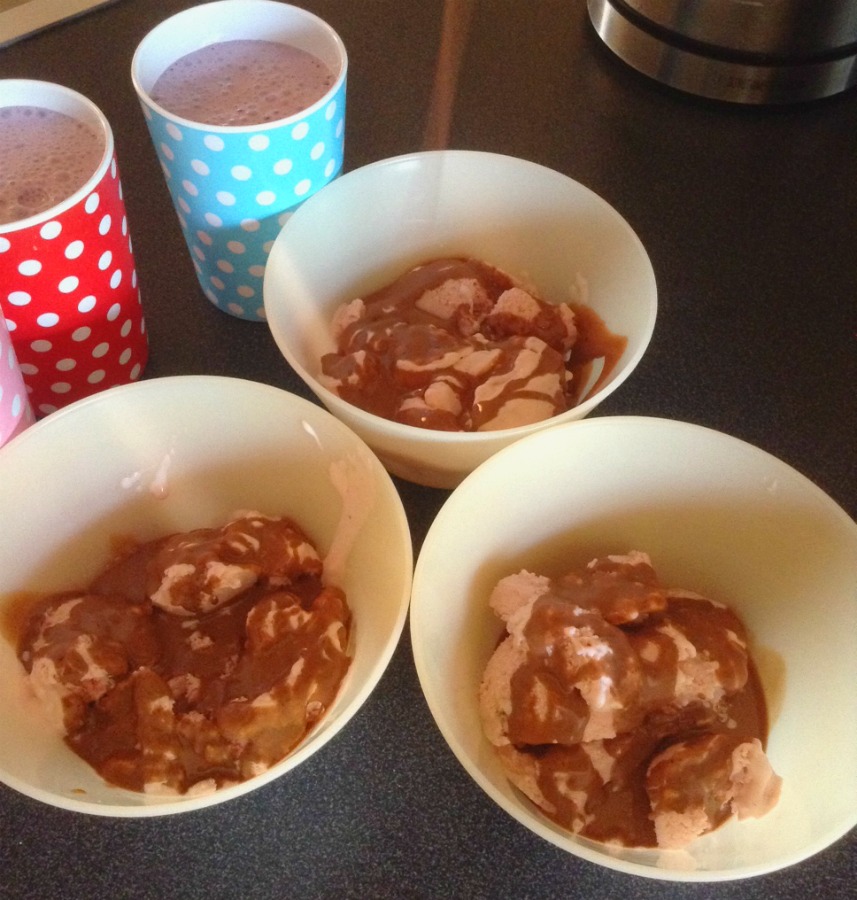
The result? The home made ice magic works! Genius! I squirted a bit too much over the ice cream, and Shaun – ever the doubter – told me I’d put too much on. By the time we’d taken it from the kitchen to outside it had set complete with the spoons stuck to the chocolate – a success!

Home Made Ice Magic - it works!

So if you want to try home made ice magic as well, it’s two parts chocolate to one part coconut oil. It leaves a thinner mixture but the colder the ice cream the better it will set and I’d like to think with the inclusion of coconut oil there’s a level of healthy in there too…

Home Made Ice Cream and Home Made Ice Magic

I am a member of the Collective Bias®  Social Fabric® Community.  This shop has been compensated as part of a social shopper insights study for Collective Bias and their client.

Easy Lunchtime Quesadillas

Easy lunchtime quesadillas are just that – easy. We don’t do difficult here.

Easy lunchtime quesadillas are something we like. They’re quick, straightforward and simple and quick to make. We did a vegetable quesadilla a while back and today as we started to run out of food we did an even simpler one,

You need :

wraps – we had a pack of six small ones
cheese  – any will do
salsa or passata  – depending on how much spice your child likes
a large frying pan  – to warm them up

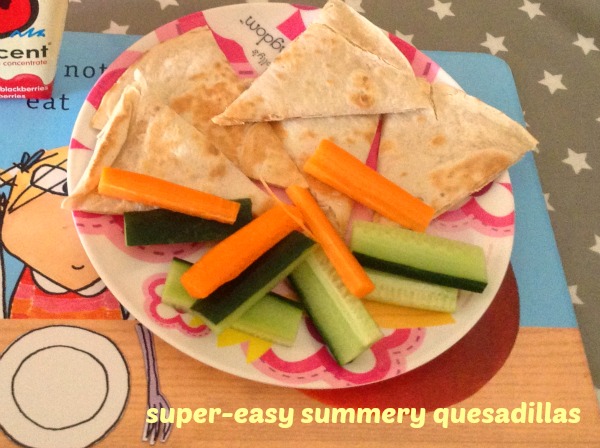
easy lunchtime quesadillas

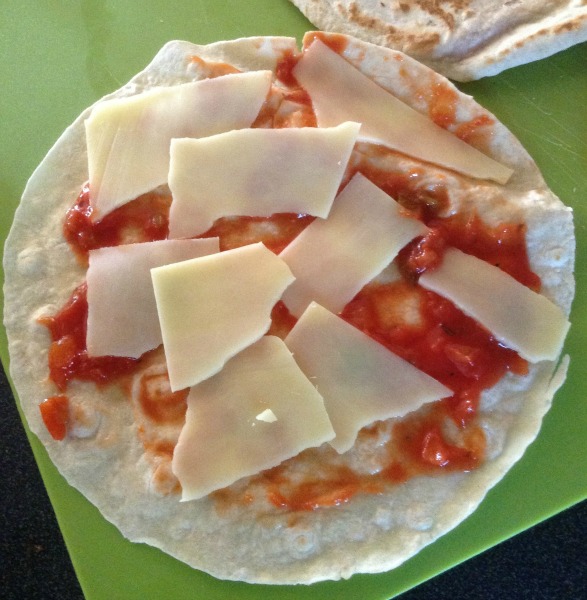
Simply put the salsa or passata on the wrap, and top with cheese – it doesn’t need to be neat, but keep it away from the very edge.

Place another wrap on top and try to make sure the mixture doesn’t squash out – the cheese will melt a bit and you don’t want melted cheese all over your frying pan.

easy lunchtime quesadillas

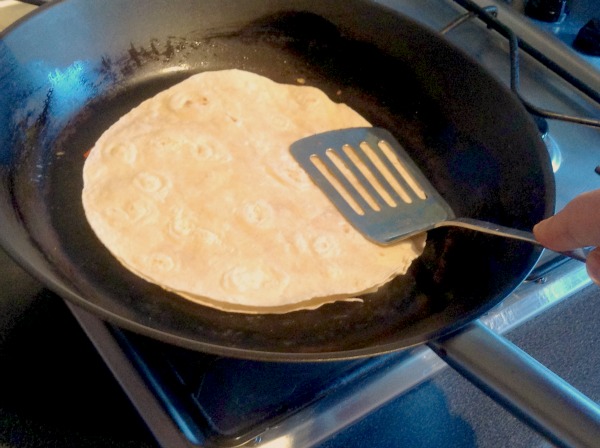
Place onto a non-stick frying pan (no oil needed – keep shuffling it like you would a pancake) and heat through well until the cheese has melted which is usually less than a minute.

Serve with carrot and cucumber sticks and whatever dips you have handy. We had hummous and it was yummy!

easy lunchtime quesadillas

We think easy lunchtime quesadillas made the perfect quick summertime lunch. They took minimal time to prepare and they cooled down quickly which was handy as we didn’t have a lot of time.

Nutritional information – we used Weight Watchers Wraps and cheese, using one and a half slices of cheese and two wraps, keeping the overall calories down. Passata has zero points too.

Weetabix Cake

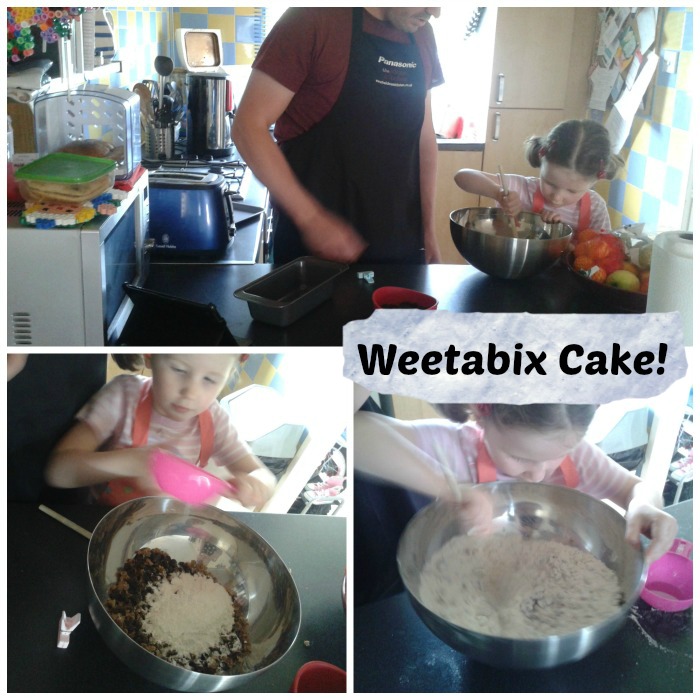
Weetabix Cake is really simple to make, and we decided it was about time we involved her in the kitchen a bit more.

Weetabix cake isn’t something you’d think of when thinking about cake, but H made this at nursery the other day and after chatting to her key workers about how it’s made we decided to give it a go. They use butter where we used sugar, so it’s very adaptable. I’m thinking about adding bananas next time.

Get your pinny on… (hmm, could that be the theme for all my random cookery things?)

Weetabix Cake

Get two Weetabix. Crush them in a bowl.

Add a cup of raisins

Add a cup of sugar (this does seem a lot)

Add a teaspoon of mixed spice (we used cinnamon, nutmeg and ground ginger)

Mix the dry mixture together well

Add a cup of milk

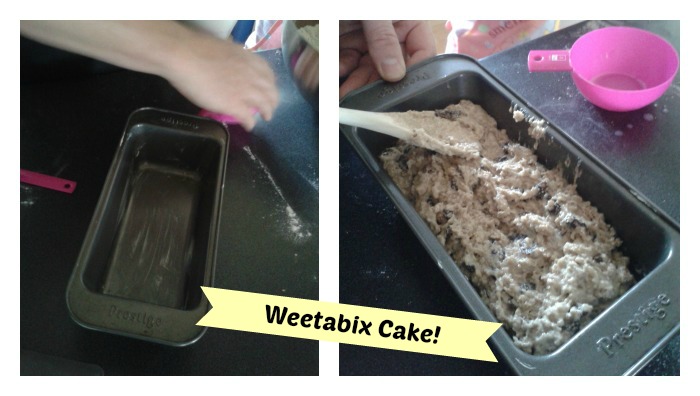
Weetabix Cake

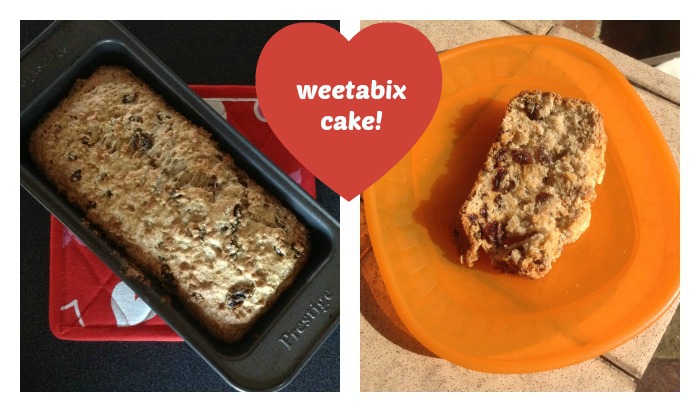
Mix into a dough. Splodge into a pre-greased tin and put in the oven at 160-170°c/325°f/Gas Mark 3 for 45 minutes. The Weetabix cake tastes yummy – I think next time we’ll use less sugar and more spice, but it was lovely and crispy on the outside and chewy on the inside – and you’d never know that it was made with Weetabix… I’m now pondering whether we try using a Weetabix cake for H’s birthday cake this year… hmmm!

Weetabix Cake

with thanks to most of the internet for all your various recipes which we adapted slightly!

Making Ice Cream – Blueberry and Pear

So we have our Ice Cream Maker – the Silvercrest one from Lidl, and have used it a few times now. The mixture is the same basic base for the cream, now it’s just the different flavour before we’re going to try things like sorbets and so on…

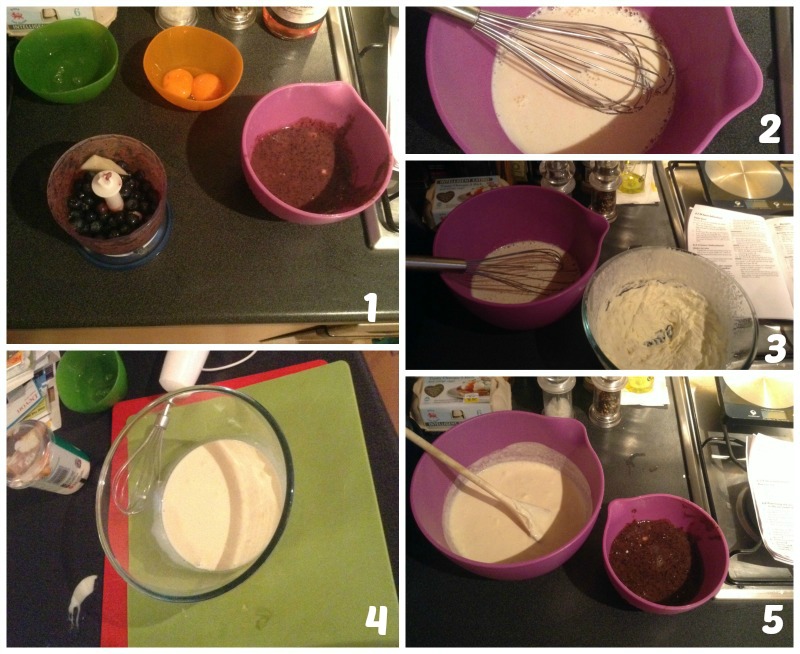
So, that’s two egg yolks, 70g icing sugar, 200ml milk and 200ml whipping cream (1) – and same as before, mix the yolks and sugar together, add 200ml of milk (2) then whip the cream until stiff (3) and add to the mixture (4).

Now comes the fun part as you add your flavour (5). This time I went for blueberry and pear, and blended it up – the pear kept quite bulky in parts and I found the blueberry left a few speckles – but that made the finished mixture look better.

I had 200g of blueberries, 100g of pear.

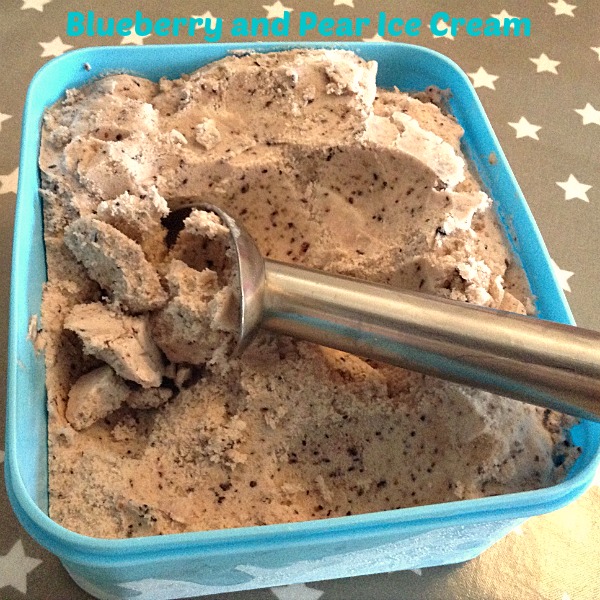
Blueberry and Pear Ice Cream

As ever, I forgot to leave the mixture to be chilled for four hours before adding to the maker, and put it in immediately. After 30-40 minutes it was ready, and was pretty darn good – for something I had no idea would work, the two flavours were really subtle together. I actually made it to share with my pals who were staying over on the Friday after BritMums but I forgot (SORRY!) – we tried some today and it is still pretty good.

Finished Ice Cream

Shaun has spotted the ice cream gets quite icy – and reading up on it, this is due to a lack of ‘oily’ substance – or rather, something which won’t freeze. I’m not keen on adding anything extra, another suggestion was to remove it from the freezer 20 minutes before serving which we think may work. We’ll see…

Anyway, we’re pleased with the results – now I need to work on getting more milk and less cream into the recipe – after chatting with Maggy Woodley of Red Ted Art about making ice cream in a can with just milk and fruit, as well as ice and salt for the chemical reaction to make the mixture work – so stay tuned!

Souptastically Souper Summery Kind of Soup

Today we had one of those days where we knew we’d be doing very little – a day to recharge our batteries and let machines make our food with minimal preparation beforehand ideally, while still remaining tasty and healthy.

I set some dough going in the breadmaker to make some ‘tear and share’ bread which was a HUGE amount when it was finished (it’ll easily last a couple of days and is gorgeously soft and tasty), but knowing I was having a bit of bread I consciously made sure my soup would be a low points one to make up for it.

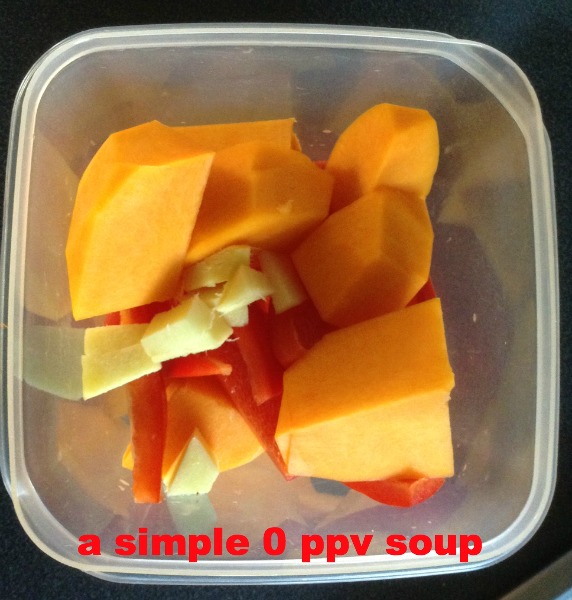
Butternut Squash, Ginger and Red Pepper Soup

So – this spicy soup is simple, easy to prepare and of course the hard work is done in the soup maker. I used…

1 butternut squash (I always think of winter with a butternut squash, so tried to make it feel summery)
one generous block of ginger chopped into blocks
two red peppers, sliced and all seeds removed

after that I just filled up the water and added three spoons of low-salt bouillon and let it happen.

Now, what should happen next is a photo of us sitting outside enjoying our bread and soup, I even did a balsamic and olive oil dip, but H decided to stick her hand in it (I put it down to three year old curiosity or something) so after a quick clean we sat and ate. They were good too – really simple and not fussy, the ginger came through nicely and I think the pepper helped.

So instead, here’s a photo of my prepped vegetables. You’ll have to take my word for the rest, though let’s face it, you’ve seen one soup you’ve seen them all – it was great for a Bank Holiday Sunday anyway. The soup comes in at 0 points too, so it meant I could stuff my face with bread and not feel too full afterwards either.

It’s Nearly June, We Still Have Easter Eggs

So I did the sensible thing any mother would do with her three year old. We made a mixture of rice krispie and raisin chocolate cakes.

Firstly, break up your chocolate in a bowl. We had three eggs. (yes, I know. H doesn’t eat much chocolate so we tend to keep it in the cupboard where it gets forgotten about)

choc1

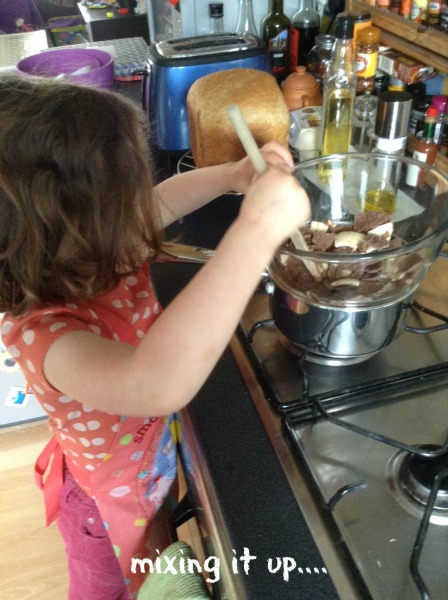
Secondly, melt the easter eggs by placing the bowl over a pan of hot water and stir continuously.

choc2

Thirdly, add rice krispies and raisins, keep stirring and when they’re covered remove the bowl from the hot water.

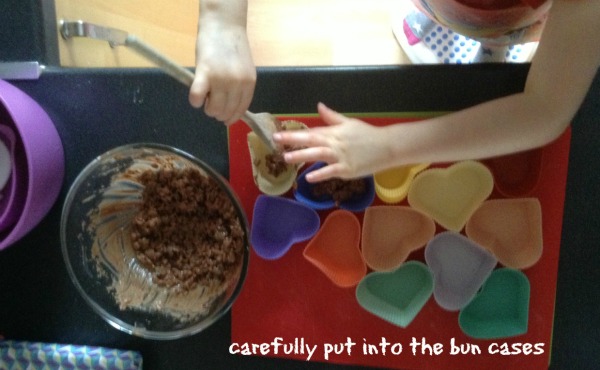
Fourthly, leave your child to scoop the mixture into bun cases while you take lots of photos of her stuffing her face and licking the spoon and licking her fingers.

choc3

Fifthly, eat them later on once you’ve let them set in the fridge for a bit.

Works for me, anyway…!

A Panicky Tea

If I don’t log this somewhere I’ll never find it next time I get home from work and realise there’s no bread! We have a breadmaker which is used 2-3 times a week so we never run out, apart from tonight.  Fortunately I had a recipe for Soda Bread I’d tried thanks to Jax at Liveotherwise, but I couldn’t find the recipe! Time was running out, and I knew it would take 30 minutes to cook, as well as 21 minutes to do the butternut squash, leek, sweet potato soup I had planned. Diasaster!

I found the recipe – I got the oven on and warming up (it’s meant to be 200 degrees), and started off the vegetables in the soup maker. Everything was going well – but I ran out of plain flour! Fortunately I had wholemeal which seemed to work – so I combined the two – but forgot to put the oven on full – and most importantly of all forgot to put a cross on the top of the emergency bread. I now know why this is – it won’t cook inside otherwise – I cut the bread into four and it needed another five minutes to properly cook.

Disaster struck again – the first blend cycle in the soup maker made the top come loose – the 21 minute cycle stopped – argh! My quick fix was to blend the vegetables anyway so they were smooth, then re-start the soup but only have it go for as long as was needed to complete the process – around eight minutes. Crisis averted,  I think….

Fortunately the bread was better for being baked that bit longer, and the soup tasted great too – so much so I scoffed the lot and didn’t take a photo. You’ll just have to take my word for it.

Soup :

3 sweet potatoes
half a butternut squash

(if you’re really lucky, you’ll have a super husband who will chop them all up into chunks the night before so you just throw it into the soup maker)

I chopped and added a leek, then three teaspoons of low-salt bouillon, water up to the maximum mark, and that’s it.

Bread :

200g plain flour
180g wholemeal flour
1 tsp bicarbonate of soda
1 tsp salt
1 carton of buttermilk

put all dry ingredients into a bowl, and make a well in the middle. Add the buttermilk and mix with a spoon until it becomes a big dough-y ball – now put the large cross on the top (VERY IMPORTANT). Put into the oven and bake for 30 minutes. It’ll be ready when it’s hollow sounding when you knock the bottom. It will also be super-tasty when eaten with freshly made soup.

Extra bonus, the washing up isn’t too difficult afterwards. My jeans are a bit mucky though, dough stains…

full credit to Cherished By Me for the recipe in the first place, thank you. It’s so quick and easy, especially when I’m organised. I’ve written it up now, so I reckon it’s foolproof!
Souptastically Souper Carrot and Leek Soup

It’s been a while since I posted up a soup recipe – we’ve been lazy lately, just doing left over vegetables in our recipes and not thinking ahead – that was until last night when I prepared extra vegetables to be tonight’s soup. It worked pretty well too.

It’s a simple one, and actually I think could have been a bit sweeter (maybe add some parsnip?) so here goes…

I peeled and chopped up about six or seven large carrots

Wash and chop four leeks

Get a decent chunk of ginger and peel and chop it up.

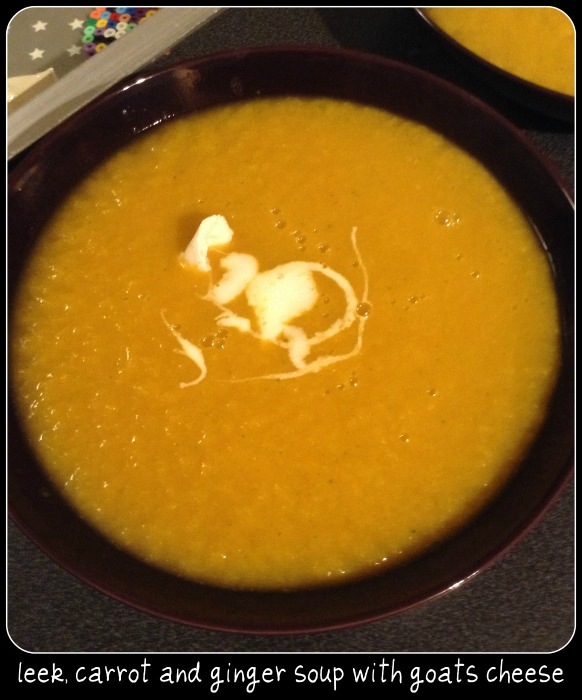
Carrot, Leek and Ginger Soup with Goats Cheese

Do as you would with the soup maker, setting it to smooth, and once your time is up you’re left with a soup which has a nice thickness and taste. Now, the only reason I think  it could do to be sweeter was the addition of a gorgeous goats cheese we picked up from our local farmer’s market last weekend – I sliced it and the inside of the cheese was gorgeous and gooey – perfect for putting in the middle of the soup. This probably bumps it a few points, but considering the soup is 0 points I think we’ll let that one go – and of course add it at the end once the soup is in bowls!

If you leave out the cheese then it’s pretty good – and I’d never think of mixing leek, carrot and ginger. Total time taken was around 30 minutes, including the time in the soup maker.