Schwartz 2 in 1 Range – Mediterranean Chicken Pasta and Cheesy Crumb

Schwartz 2 in 1 is a new range of spices you can add to dishes. They’re simple to use, there’s clear instructions and the Mediterranean Chicken Pasta and Cheesy Crumb is suitable for vegetarians, so I gave it a go.

Schwartz 2 in 1 is part of a BritMums challenge to use it in a dish you’d normally eat, but as we’ve been off our food for the last week we’re late. The Schwartz 2 in 1 range has some spice to cook with your food and a second sachet which you use as a topping – easy – even I can do this one.

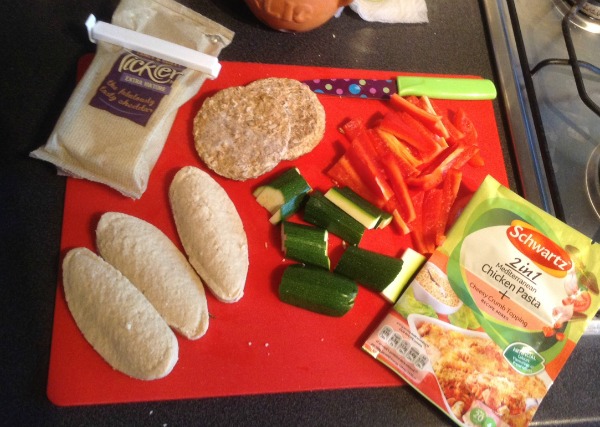
I bought some Quorn fillets over the weekend with this in mind, and realised I needed more, so raided what was left in the freezer – which were two veggie burgers.
Schwartz 2 in 1
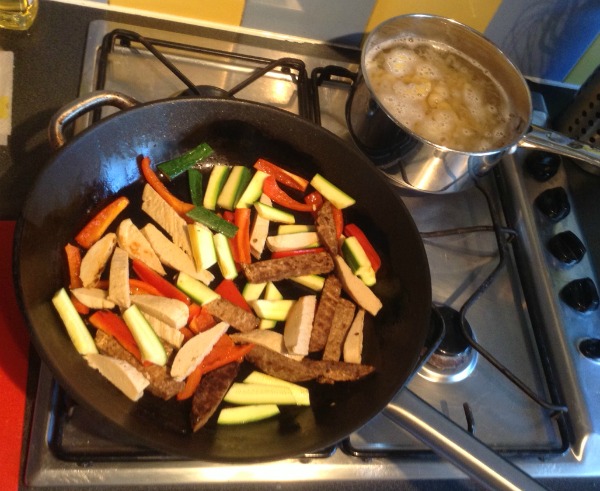
I chopped them up, and cooked them, adding some red pepper (the recipe suggests yellow but we had none). I also added a courgette and some carrot so it wasn’t too pasta and cheese-based and had more veg.

Schwartz 2 in 1

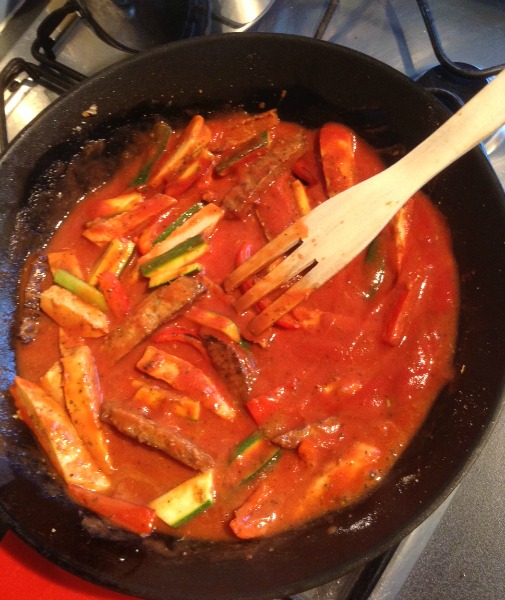
After that you’re meant to get the first sachet and mix it with some tomatoes and water – I used passata and didn’t read the instructions properly, adding it straight to my quorn and vegetable mixture – fortunately it wasn’t a disaster!
Schwartz 2 in 1
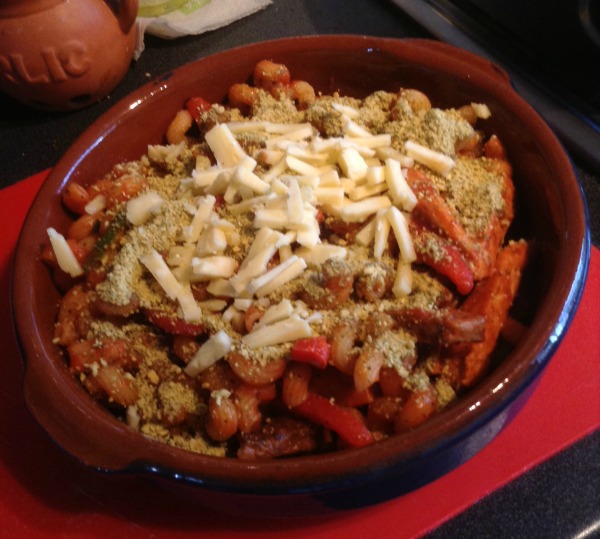
200g of pasta was being cooked, and once ready I added it to the mixture and transferred it to one of my favourite oven dishes.

Schwartz 2 in 1

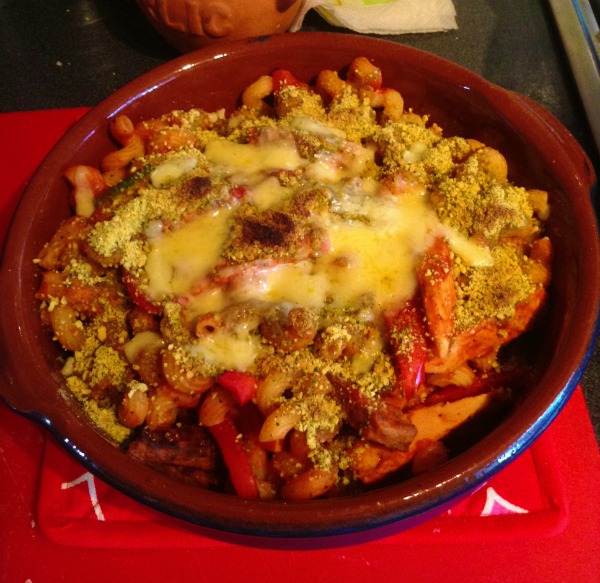
After that it was a case of adding the other sachet of topping as well as some grated cheese (I used some Tickler Extra Mature – we discovered Tickler at the Devon County Show and I’ve been buying it since – and you don’t need as much as it’s really strong) , popped it under the grill for a few minutes and let it cool down.

Schwartz 2 in 1

Then we sat outside and stuffed our faces! (actually, we ate half, it’s really filling and very yummy). As a sidenote, Schwartz, if you read this, I’d never have bought this, assuming it wasn’t suitable for vegetarians – so I’m happy it is!

This post is a (very late so doesn’t qualify) entry for BritMums ‘What’s for Dinner Tonight?’ sponsored by Schwartz. Find out more about the new 2in1 mixes here. We were sent two different varieties to try, all opinions are our own.
James Martin Spice Grinder from Wahl

We were given an opportunity to review the James Martin Spice Grinder from Wahl – and the most appealing thing to me was making my own spice mixtures and being in full control of what’s going in our food.

Firstly I checked through the various mixes in the recipe booklet. I’m vegetarian, but Shaun and H eat meat so it needed to be compatible for both.

Actually – and this is where something like cookery or chemistry would have interested me had they taught it like this at school – I was really impressed how the same spices can make such different flavours.

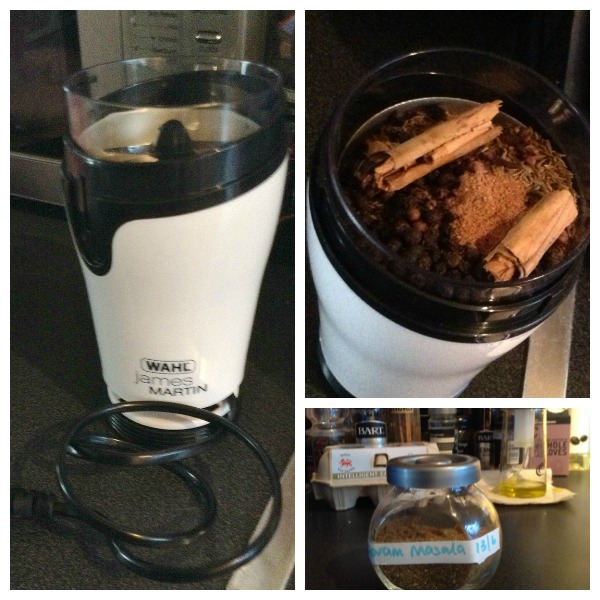
Grinding spice

We’ve tried the Garam Masala and the Spicy Cajun recipes – though we adapted the latter so it wasn’t too much for H (and I didn’t have any oregano) – and was impressed with the results.

My next plan is to work out the ingredients and quantities in spices we use a lot such as the Schwartz Garlic Italian and make our own – my problem is time and having any, so it needs to be quick. My herb and spice collection is looking pretty good right now and is being used a lot more.

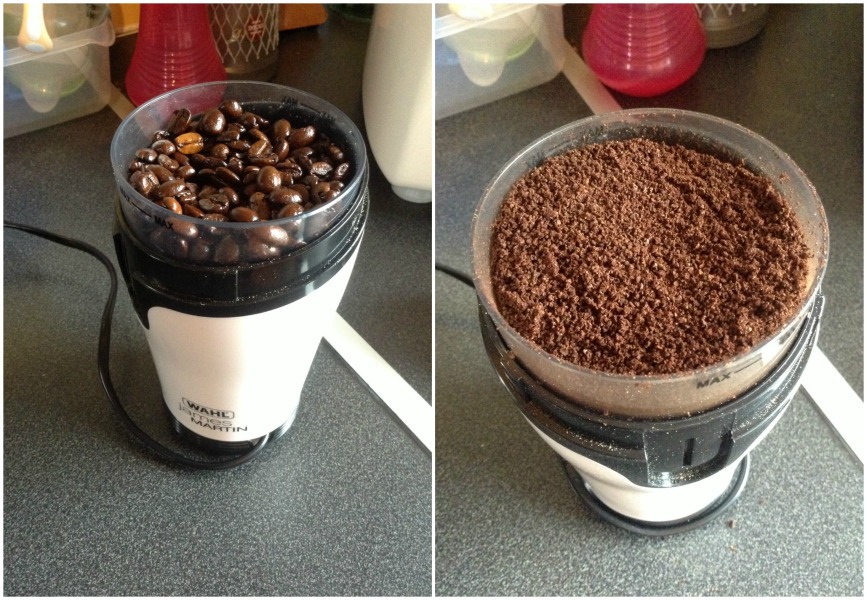
This morning we used it for some coffee beans and found it ground them up as finely as you’d get if you bought from a shop – and all the way through. This took 30 seconds of pulsing. Lovely!

Coffee Grinder

The Spice Grinder is small and doesn’t take up space in the cupboard, the power cord wraps around the base and stores away with no bulk. As far as cleaning goes, it’s really simple to clean – though I wish there was a spout to channel your blended spice into containers (as I get it all over the counter). There’s a small attachment which can be used for smaller quantities too.

The question is, why have a spice grinder if you have a blender? I like how compact it is, you can do small batches (using the attachment on the top) and it also works on coffee beans. The spices will be blended finer too, and of course buying your spice in fresh means it smells better too. We used to use a pestle and mortar but time was our biggest issue. It grinds cinnamon and cloves well too and is controlled by pulsing rather than you leaving the mixture to blend.

The James Martin Spice Grinder retails for £17.49 and is available now.

We were sent the grinder for the purpose of review, all opinions are our own.
Weetabix Cake

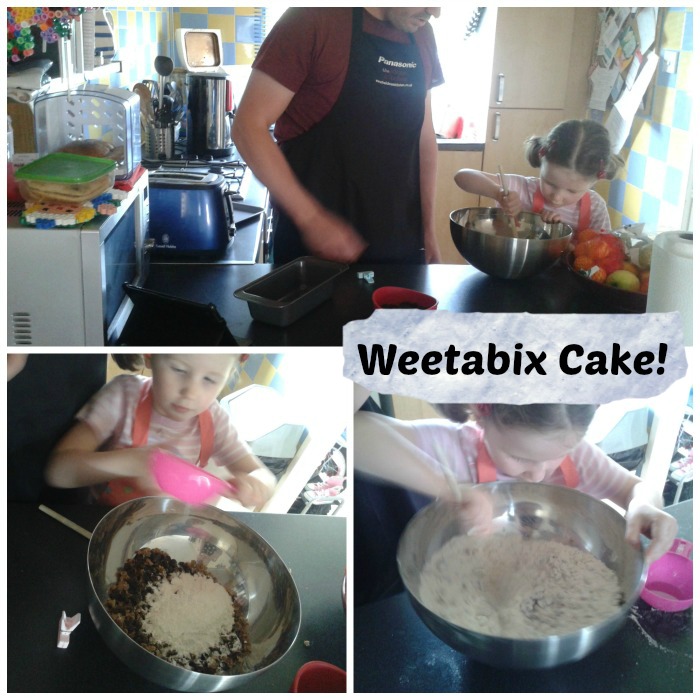
Weetabix Cake is really simple to make, and we decided it was about time we involved her in the kitchen a bit more.

Weetabix cake isn’t something you’d think of when thinking about cake, but H made this at nursery the other day and after chatting to her key workers about how it’s made we decided to give it a go. They use butter where we used sugar, so it’s very adaptable. I’m thinking about adding bananas next time.

Get your pinny on… (hmm, could that be the theme for all my random cookery things?)

Weetabix Cake

Get two Weetabix. Crush them in a bowl.

Add a cup of raisins

Add a cup of sugar (this does seem a lot)

Add a teaspoon of mixed spice (we used cinnamon, nutmeg and ground ginger)

Mix the dry mixture together well

Add a cup of milk

Weetabix Cake

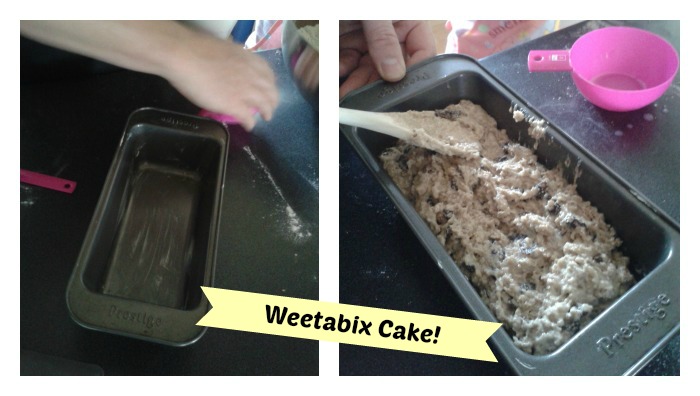
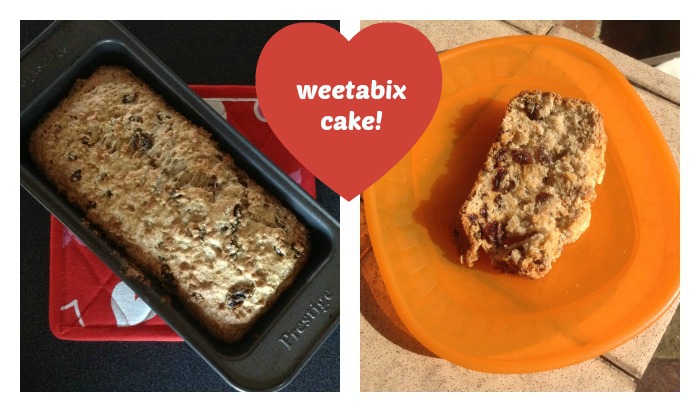
Mix into a dough. Splodge into a pre-greased tin and put in the oven at 160-170°c/325°f/Gas Mark 3 for 45 minutes. The Weetabix cake tastes yummy – I think next time we’ll use less sugar and more spice, but it was lovely and crispy on the outside and chewy on the inside – and you’d never know that it was made with Weetabix… I’m now pondering whether we try using a Weetabix cake for H’s birthday cake this year… hmmm!

Weetabix Cake

with thanks to most of the internet for all your various recipes which we adapted slightly!

Making Ice Cream – Blueberry and Pear

So we have our Ice Cream Maker – the Silvercrest one from Lidl, and have used it a few times now. The mixture is the same basic base for the cream, now it’s just the different flavour before we’re going to try things like sorbets and so on…

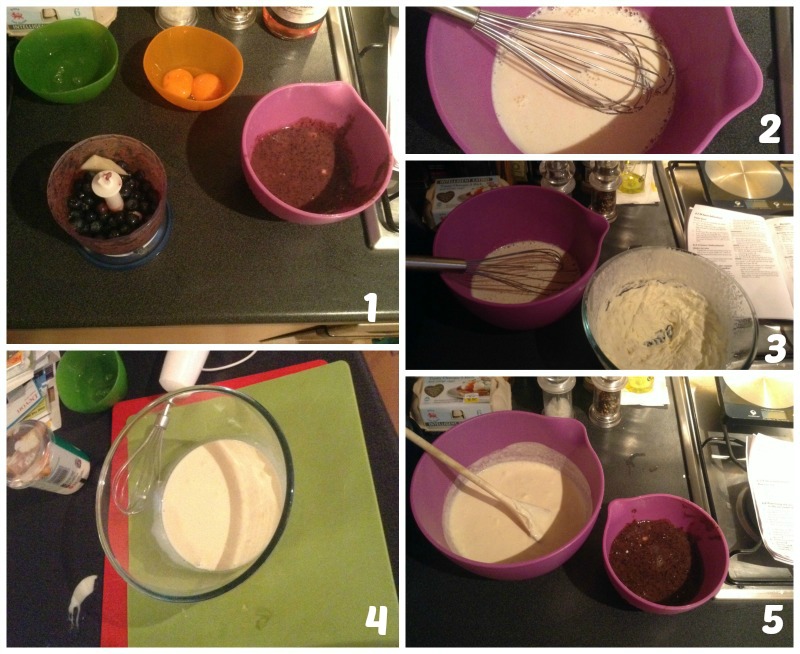
So, that’s two egg yolks, 70g icing sugar, 200ml milk and 200ml whipping cream (1) – and same as before, mix the yolks and sugar together, add 200ml of milk (2) then whip the cream until stiff (3) and add to the mixture (4).

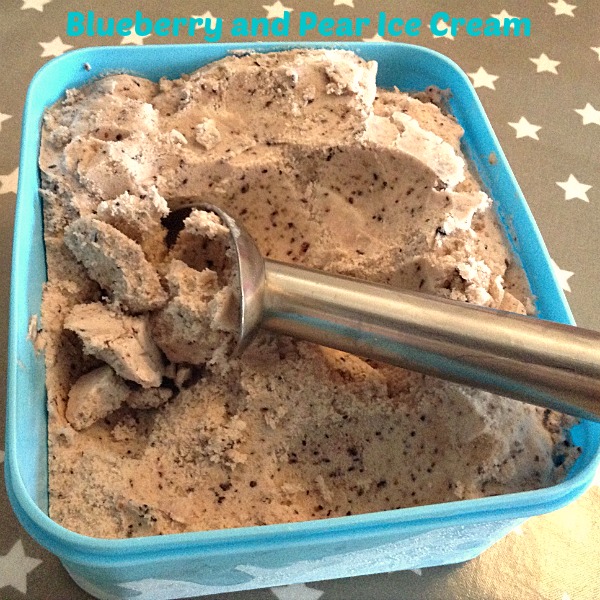
Now comes the fun part as you add your flavour (5). This time I went for blueberry and pear, and blended it up – the pear kept quite bulky in parts and I found the blueberry left a few speckles – but that made the finished mixture look better.

I had 200g of blueberries, 100g of pear.

Blueberry and Pear Ice Cream

As ever, I forgot to leave the mixture to be chilled for four hours before adding to the maker, and put it in immediately. After 30-40 minutes it was ready, and was pretty darn good – for something I had no idea would work, the two flavours were really subtle together. I actually made it to share with my pals who were staying over on the Friday after BritMums but I forgot (SORRY!) – we tried some today and it is still pretty good.

Finished Ice Cream

Shaun has spotted the ice cream gets quite icy – and reading up on it, this is due to a lack of ‘oily’ substance – or rather, something which won’t freeze. I’m not keen on adding anything extra, another suggestion was to remove it from the freezer 20 minutes before serving which we think may work. We’ll see…

Anyway, we’re pleased with the results – now I need to work on getting more milk and less cream into the recipe – after chatting with Maggy Woodley of Red Ted Art about making ice cream in a can with just milk and fruit, as well as ice and salt for the chemical reaction to make the mixture work – so stay tuned!

It’s National Picnic Week

Did you know it is National Picnic Week this week? That’s the 17th to 23rd June – and Higgidy are taking all picnic matters very seriously indeed.

Higgidy logo

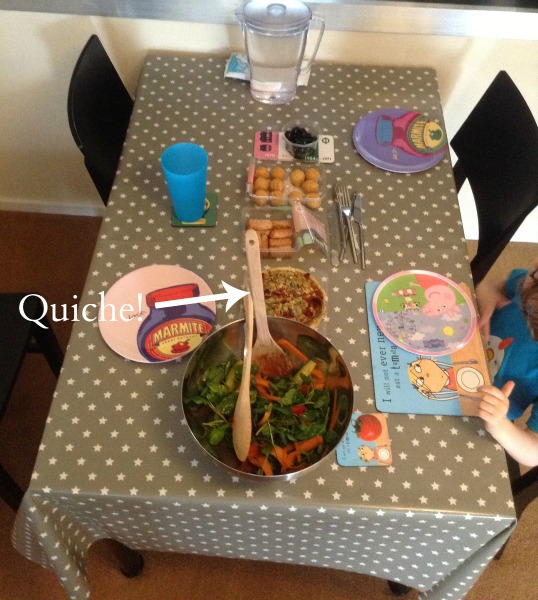
Firstly, there’s a competition over on their website to win a picnic hamper (there are 250 winners each week) and secondly, they’ve made available a limited edition Balsamic Onion and Mature Cheddar Quiche. Now, at this point I should be telling you all about it, but our local Sainsburys didn’t stock it. However, they do have the Spinach, feta and Roasted Red Pepper variety so we chose that for our picnic tea tonight.

Our Higgidy Picnic

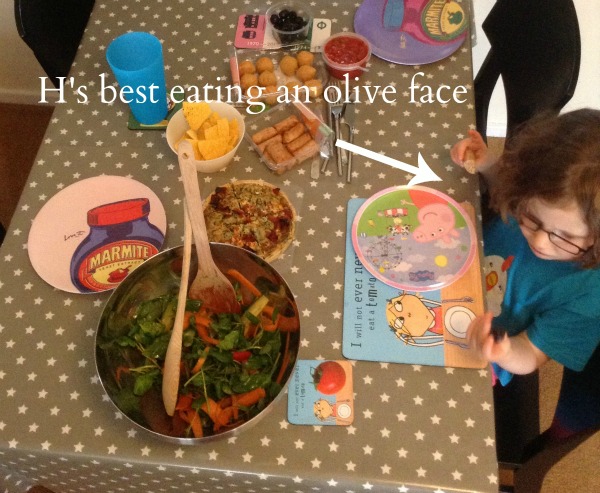
See, the weather (apart from yesterday) is being so unpredictable again – I had plans for a picnic at Painshill Park on Saturday but it was threatening to rain (it didn’t). So instead we planned an indoor picnic this evening – the spirit of a picnic is there, it’s just a bit more contained.

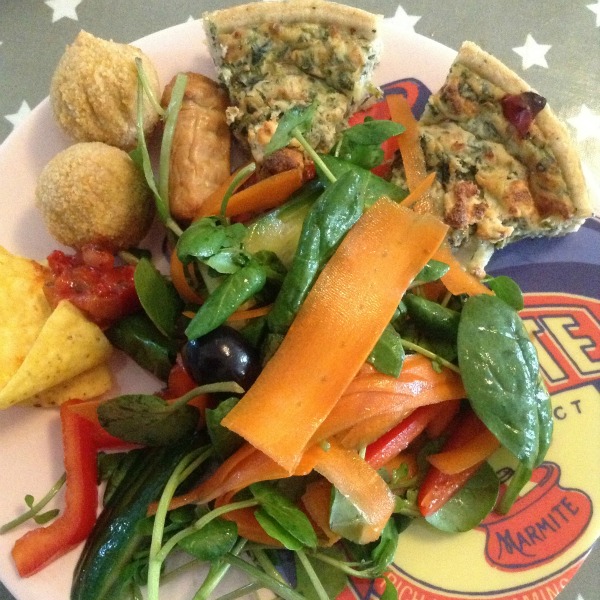
So we had the Higgidy Quiche which didn’t need any cooking and was just served as-is, some Quorn cocktail sausages and some Quorn Scotch Eggs. Add to that a salad, some salsa and a few nachos and a tub of olives and we were ready! A balsamic dressing on the salad and we were ready!

Our Higgidy Picnic

H enjoyed it, and to be honest, I enjoy picnic food – helping yourself to what you want rather than being served your meal – we had fun, and if the weather could just improve a little bit that would be great!

As an aside, we love Higgidy as a company – their pies, slices and quiches are all made by people rather than machines, they care about the animal welfare behind their meat and eggs, they care about what they cook and they believe in pricing their food fairly. Oh, and we think they’re pretty yummy too!

We’re going to try out some of Camilla’s recipes from the website, and I’m determined we’ll have a picnic one day soon! This also means we’ll be doing a follow-up with a review of the food we’ve cooked, as well as finding one of the Balsamic Onion and Mature Cheddar quiches – that’s unless you’ve all gone out and bought them all already…

Our Higgidy Picnic

We have been supplied with vouchers to buy the quiche – all opinions are our own

Cupcake Cookies Making with Magic Belles

H is becoming quite obsessed with the Magic Belles – six really lovely little fairies who sprinkle their magic dust as they go, each with their own ‘wonder’. She’s been signed up with the FREE Flutterbud Club – yes, you read that correctly, and if you have a young girl then really truly sign them up as it’s lovely – every month H gets a picture, badge, sticker, book to make and loads of activities within that.

We were lucky to be chosen as one of a few bloggers to receive a special treat from Cupcake Belle – a recipe and of course the all-important things you need to make cookies.

Wednesday is my day off, so H and I headed to the shops and got to work…

When we got home I weighed out the main ingredients – so that’s 125g of unsalted butter, 125g of caster sugar, 250g plain flour and had a medium egg and some vanilla extract ready. In the meantime H laughed at me a lot when I told her to “put her pinny on”.

Magic Belles Cupcakes

So H mixed the butter and sugar together

We cracked and added the egg together and she carefully measured the vanilla extract with her special measuring spoons

I helped a little bit with mixing, mainly guiding her to make sure she did it right, as she seemed to want to rush it rather than do it slowly and carefully. H was in charge though, never let it be said otherwise.

Magic Belles Cupcakes

After that we sifted in half the flour and mixed, then the other half and eventually made the mixture into a dough. I then wrapped it in clingfilm and left it in the fridge for about four hours while we went out to soft play and swimming.

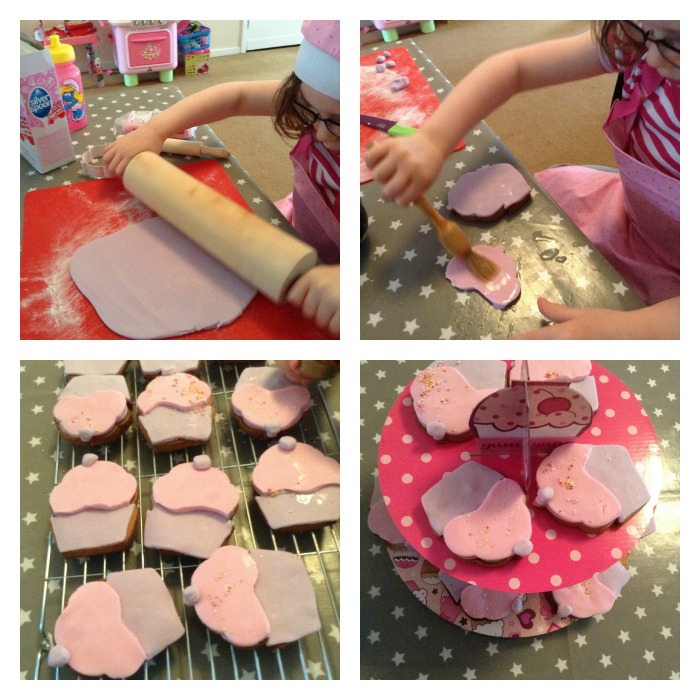
We got back and I needed the bigger rolling pin to get the dough rolled out, once we’d done it H cut a few cupcake shapes, and we laid them out on a tray to be baked – 20 minutes later and they were done.

Magic Belles Cupcakes

Then all we had to do was roll out the icing and cut out more shapes and roll pink icing and trim it for the cupcake top (which I did as it’s a sharp knife) then get some water and make sure the icing was stuck to the biscuit, add sprinkles and a small circle of icing on top and voila! Sugar treats for us (which will be shared with my mum at the weekend as there’s lots of them!).

Thank you Magic Belles – the key thing I spotted with this was how much H felt like this was ‘hers’ – she had her special mixing bowl and measuring cups and tools as well as a hat and pinny, and she did the majority of the mixing and making – the recipe is simple enough for a three year old to manage (like H) without being complicated. Add to that she thinks Cupcake Belle is her favourite and really you’re on to a winner.

I like to work her hard 🙂

Magic Belles Cupcakes

For more Magic Belles information head here

To join the excellent Flutterbud Club head here

We were provided with money for ingredients and goodies to make the cookies, all opinions are our own.
I Bought an Ice Cream Maker

Lidl are currently selling one for £19.99 and after seeing the recipes from ScottishMum I rushed out and bought one. I’ve not had time to try it out yet but Shaun did, making the easiest recipe in the book, banana ice cream  and it’s delicious.

Actually, one thing I’ve found already with the ice cream maker, you need to think well ahead if you want some – the bowl to make it has to be chilled for 24 hours, and the mixture itself needs to be prepped four hours before you plan to eat it. Shaun said it was quite runny when it was finished (but was fine after some extra freezer time) so if you include that then I’d give it some extra time to be on the safe side again.

So over the coming weeks we’re going to try some ice cream recipes – which means we’re now in control of what goes into H’s ice cream and we have plenty of fresh fruit at home most of the time. I know we’ll definitely try out the strawberry recipe!

The ice cream makers are in store now – don’t leave it too long as it’s a good price.

Pizza Express has a New Menu

Of all the places we eat, Pizza Express is the one we seem to go back to. They do good deals on food so you can get a decent amount, feel full and not feel like you’ve eaten too much.

Today we made a trip to the Banstead branch having heard rumours of a new menu – and yep, it’s there.

Firstly, the Piccolo menu has been redesigned. You have more choice of food, plus you can now do a create your own. H is still set in her ways so stuck with her favourite cheese and tomato – BUT – we spotted you no longer get a drink thrown in with the meal, it’s now a separate charged item. Fortunately we had her water, but that’s a bit annoying, but I guess brings it into line with the rest of the deals and menu.

I’d noticed all the pizzas now have a calorific value on the app which is really helpful (click on the ‘cal’ icon on each menu item when you view it on the menu) and that there’s also now an Android version of the app (as in the past I’ve had to bring my iPod or iPad out with me to be able to pay the menu via PayPal at the end) which I hadn’t noticed, so I decided  to try their new 300 calorie Leggera Superfood Salad.

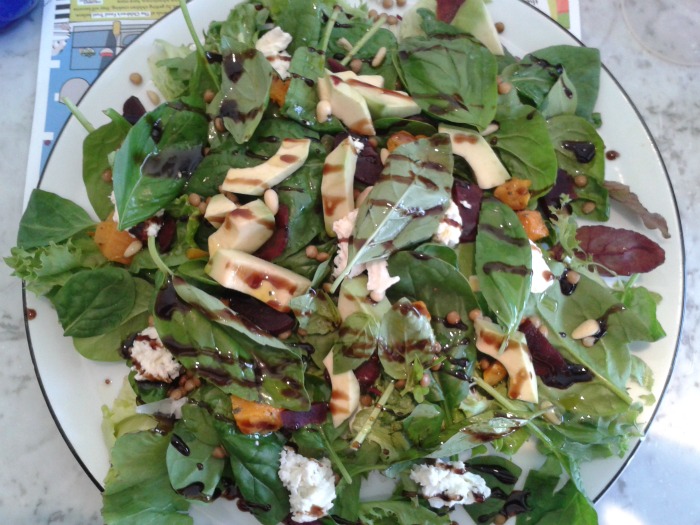
Pizza Express Low Calorie Salad


It costs £10.95 but is included on the deals which I was pleased about – and is a really generous plate of mozzarella, butternut squash, beetroot, spinach and more – while I don’t feel full it definitely was filling – a few more vegetables and it’d probably be perfect. The balsamic dressing was nice and sweet too. Here’s the blurb “Packed with some of our favourite superfoods, our fresh new salad is nutritious and lower in calories. Baby spinach and seasonal mixed leaves, roasted butternut squash, beetroot, light baby mozzarella, avocado, pine kernels, cucumber, lentils and fresh basil finished with balsamic syrup. At under 300 calories it is even suitable for anyone who is on the 5:2 diet.

We also ordered a diet coke, and because my salad was lower in calories I went for dough balls (quite high in calories though), but figured as I’ve spent the afternoon walking around I’ve got some leeway.

We had a choice of two deals – 25% off our mains or 3 for £12.95 – we opted for the latter but mainly as we fancied a dessert – although I was a bit disappointed their low-calorie option wasn’t included in the deal (as that would be a good sales point!).

In total the bill plus tip was £40 – so our overall spend has crept up a bit more. I think next time it’ll be tap water to help keep costs down, and I’m sad (but understand) with the kids drinks – I’d much rather do away with the bambinoccino at the end than a drink at the start. Still, overall we were happy and you can’t beat paying with PayPal on the app, even if I feel guilty every time I do it, like we’re leaving the restaurant without paying!

Souptastically Souper Summery Kind of Soup

Today we had one of those days where we knew we’d be doing very little – a day to recharge our batteries and let machines make our food with minimal preparation beforehand ideally, while still remaining tasty and healthy.

I set some dough going in the breadmaker to make some ‘tear and share’ bread which was a HUGE amount when it was finished (it’ll easily last a couple of days and is gorgeously soft and tasty), but knowing I was having a bit of bread I consciously made sure my soup would be a low points one to make up for it.

Butternut Squash, Ginger and Red Pepper Soup

So – this spicy soup is simple, easy to prepare and of course the hard work is done in the soup maker. I used…

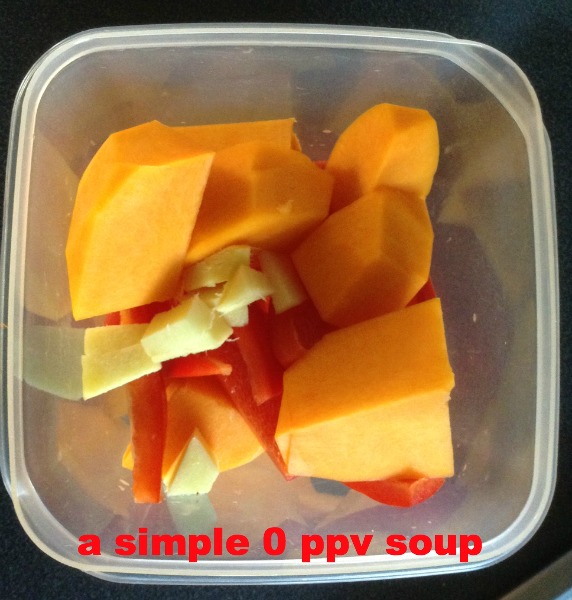
1 butternut squash (I always think of winter with a butternut squash, so tried to make it feel summery)
one generous block of ginger chopped into blocks
two red peppers, sliced and all seeds removed

after that I just filled up the water and added three spoons of low-salt bouillon and let it happen.

Now, what should happen next is a photo of us sitting outside enjoying our bread and soup, I even did a balsamic and olive oil dip, but H decided to stick her hand in it (I put it down to three year old curiosity or something) so after a quick clean we sat and ate. They were good too – really simple and not fussy, the ginger came through nicely and I think the pepper helped.

So instead, here’s a photo of my prepped vegetables. You’ll have to take my word for the rest, though let’s face it, you’ve seen one soup you’ve seen them all – it was great for a Bank Holiday Sunday anyway. The soup comes in at 0 points too, so it meant I could stuff my face with bread and not feel too full afterwards either.

It’s Nearly June, We Still Have Easter Eggs

So I did the sensible thing any mother would do with her three year old. We made a mixture of rice krispie and raisin chocolate cakes.

Firstly, break up your chocolate in a bowl. We had three eggs. (yes, I know. H doesn’t eat much chocolate so we tend to keep it in the cupboard where it gets forgotten about)

choc1

Secondly, melt the easter eggs by placing the bowl over a pan of hot water and stir continuously.

choc2

Thirdly, add rice krispies and raisins, keep stirring and when they’re covered remove the bowl from the hot water.

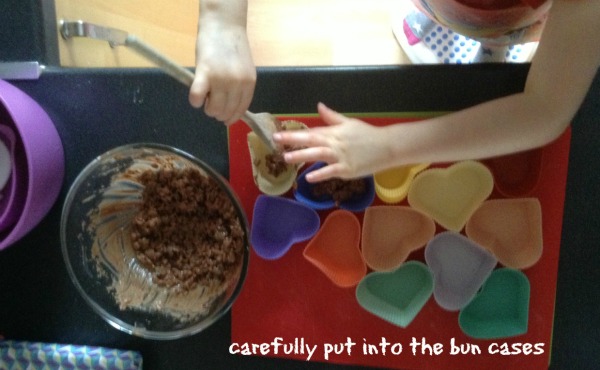
Fourthly, leave your child to scoop the mixture into bun cases while you take lots of photos of her stuffing her face and licking the spoon and licking her fingers.

choc3

Fifthly, eat them later on once you’ve let them set in the fridge for a bit.

Works for me, anyway…!