Make, Bake, Cupcake from Parragon’s Love Food Range

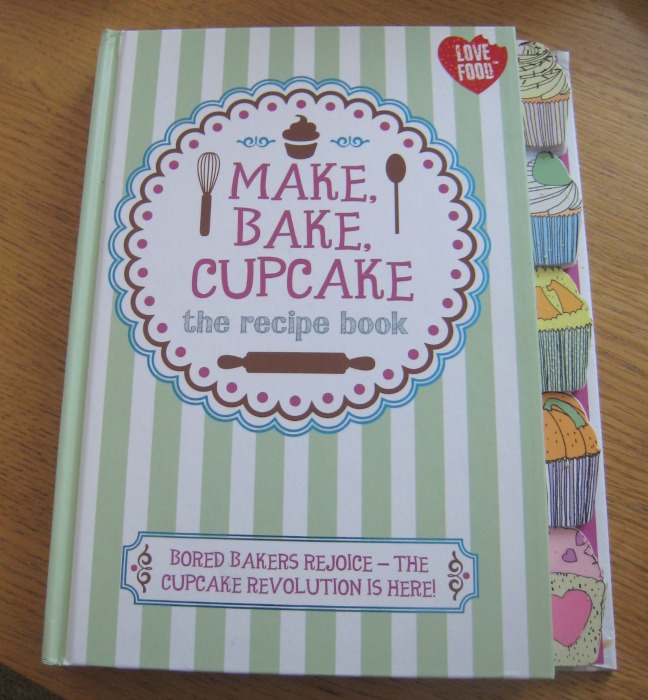
Make, Bake, Cupcake is a wonderful visual book of cupcake goodness. A treasure trove of all the cupcakes you’ve thought about baking made easy. Every page is a feast for the eyes, with straightforward instructions how to make your cake.

Make, Bake, Cupcake

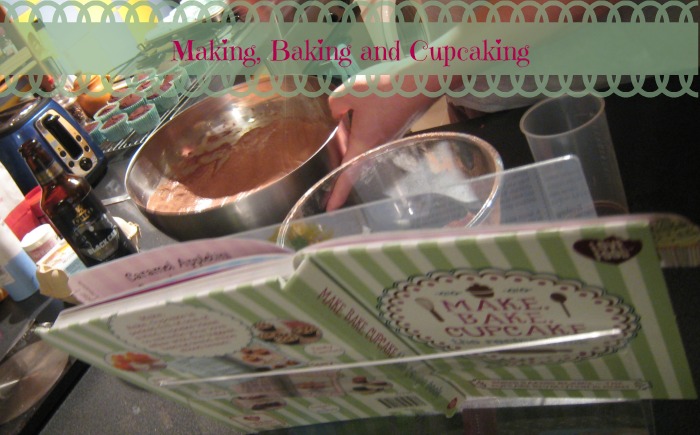
Make, Bake, Cupcake is one of my favourite books right now. There are so many varieties of cupcake recipes in there – ice cream cones, squashed witches, brains, and the one we made last week, the Chocolate and Stout variety.

I really love how the book breaks down the kind of cupcakes into sections, so you can bake for an occasion – Cocktails and Mocktails, Feisty Flavours, Fun & Frosted, Scary Cute and Hidden Surprises. Each type of frosting has clear instructions so you know which one applies to your cake.

As far as the recipe goes, it was really straightforward to follow, but we have one problem – our meringue icing turned into a nightmare. We couldn’t get to the shops to buy more eggs and the mixture wouldn’t thicken, I’m sure something we’d done wrong. It would be handy to have a guide what to do when it goes wrong (and fortunately after a lot of googling Shaun found a video, and stayed up until 1am to fix it) – I’m sure it’s probably just for meringue icing as it’s tricky anyway. If, like us, you’re doing them for a reason then have a practice run beforehand!

Make, Bake, Cupcake

We made two lots as our cakes were for the Great Beggars Bake Off at work – raising money for Missing People. Do feel free to donate as well, although I can’t give you a cake.

Chocolate and Stout Cupcakes from Make, Bake, Cupcake

My workmates all said the cakes were delicious, and considering there had been a week of cakes so they could potentially be cake-d out, that’s a good thing! Over the coming weeks we’re going to try more recipes from here, the Popcorn Cupcakes look interesting (a good one for movie night maybe!), and the halloween ones look like loads of fun – squashed witches, ghosts and cobwebs – marvellous!

Make, Bake, Cupcake from Parragon Books

Make, Bake, Cupcake is available now (and a good price at Amazon), and is published by Parragon as part of their Love Food range. I received my copy as I am one of Parragon’s Book Buddies. I’ve already had several friends gushing over the pages – it’s the kind of book you want to make what’s inside rather than feel like you can’t. Who’s up for some brain cupcakes next then? Hehehe…
A Back To School Big Hug Of A Soup

I have no idea why I’m calling it this, all the relief and tension of the last few weeks disappeared this morning sending H off to school, which means I can think about evening meals properly again and have a little bit more time in the evenings. Here’s our Back To School Big Hug Of A Soup.

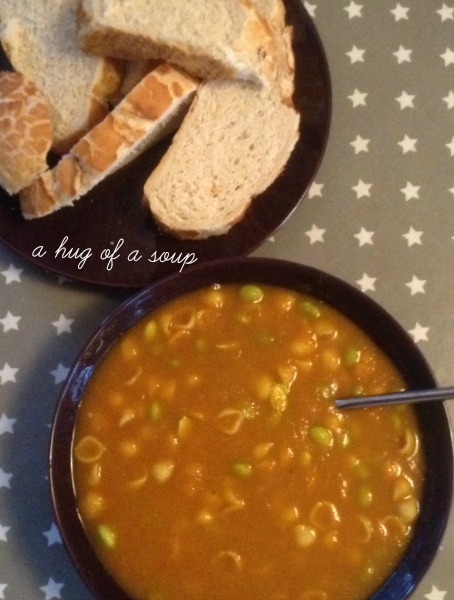
a big hug of a soup

I needed a Big Hug Of A Soup tonight. I tried to think of all the comfort foods I’d turn to, without thinking about chocolate or things which will make me big. Soup works and it’s quick. I concocted a soup which just works, autumnal and warmer now that the hot days are coming to an end. I’ve got into the trap of making easy soups with a butternut squash so I left it out this time. It’s a Big Hug Of A Soup. Oh yes. (I think if it were possible to add chocolate it really would hug you too)

So: ingredients. A lot of this is what’s left in the cupboard the day before our food delivery, and of course it is prepared in our trusty Morphy Richards Soup Maker.

Two sweet potatoes
One red onion
One red pepper
One clove of garlic
Two sticks of celery (this may be pointless but we have lots that need to be used, so may as well)
A blob of Aussiemite (this may not be necessary but I put it in anyway)
Five carrots
Some ginger. (by some, I mean however much you’d actually like, you want the flavour to come through in the soup)

Seasoning – a bit of curry powder and a bit of bouillon (by a bit, I put in a teaspoon but you may like more if you need a more salty flavour to it).


This may sound like a flavour-clash, but it actually works pretty well. I set the Soup Maker to smooth, and added the maximum amount of liquid so it wouldn’t be too thick. Once it was finished I added in some pre-cooked small pasta shells (a handful, not too much) and some edamame beans. Once the soup was ready we had to pop out for twenty minutes, so by the time we got home it had cooled nicely and the flavours had come through – I could taste the ginger, it was nice and subtle. For me, the mixture of vegetables is a good portion size and easily a couple of your five a day.

I would recommend making the Big Hug Of A Soup at least 30 minutes before you intend to eat it and serve with a nice crusty loaf of bread (I was lazy and bought a Giraffe Loaf from the supermarket). One big reassuring hug of a soup for those of us who just got through our first day of school, whether you’re a parent or a child. We all ate ours, anyway.

This post contains three very content and full stomachs and one affiliate link.

Birthday Cookies

H had her fourth birthday party yesterday, and one thing I had in mind to make was birthday cookies.

Birthday cookies are easy to make, you can bake tons of them and share them with the parents (parents are often overlooked when it comes to party food) and depending on allergies could be adapted for children who have nut allergies pretty easily by avoiding ready made icing.

Birthday Cookies - Finished

Here’s the recipe.

Birthday Cookies.

1 cup icing sugar

2 cups plain flour

300g unsalted butter

For the icing:

Two Sainsburys roll-it-out coloured icing blocks. Yes, I cheated.

For the decoration :

Sainsburys icing pens (various colours) and some blue sugar decoration crystals (they’re nice and sparkly like monster snot).

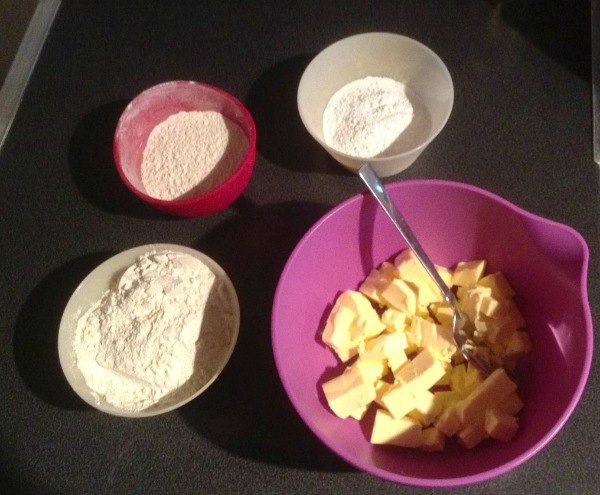
Birthday Cookies Ingredients

To make the cookies :

Soften the butter, add the icing sugar and stick in the food processor until blended. Add the flour. You’ll have your dough. Leave in the fridge for 20 minutes.

After that, on a floured board roll out the dough and using a cookie cutter cut your shapes. We used a number 4 from my 101 Cookie Cutters set (they didn’t have any monsters) and made approximately 60 cookies.

Bake in the oven at around 180 degrees for 10-15 minutes (we have a fan-assisted oven) – keep checking them and turn your tray around. I found the best cookies were made on the bottom shelf as they looked a nice golden shade.

birthday Cookies baked

Once out of the oven leave to cool on a wire rack for 10-15 minutes (just enough time for the next batch to be added).

Once your batch are cooled, get your icing. I went for ready-made as it saved me time, I used icing sugar to dust the boards and rolled them out cutting 4 shapes again, and sticking them to the cookie with water.

Birthday Cookies Iced

Once they’d dried I used more water on top and added various decorations. As it was a monster themed party I figured it could be fairly messy so broke up some chocolate buttons and added them on top, as well as writing with the icing pens.

The best thing? Almost everyone ate them so it meant we didn’t bring much home at all. There were plenty for everyone too (18 children and a few more adults).

H loved them as they were proper birthday cookies with her age on as well, and I quite enjoyed making them as it kept me calm and stopped me flapping.

I think we all win there.

This post contains an affiliate link, and the recipe was put together using several recipes online for inspiration. I wanted to avoid too much sugar and also eggs.

Warburtons Krazy Kitchen – The End Is Near

Warburtons Krazy Kitchen is coming to an end – after three weeks of competing between two families – the McDermott’s and the Griffiths, the final instalment of their gameshow goes live today!

Warburtons Krazy Kitchen has been a gameshow, a sandwich-off between two families, and it comes to an end this week. We’ve had mum vs mum, dad vs dad and child vs child so far with the final part today, Friday.

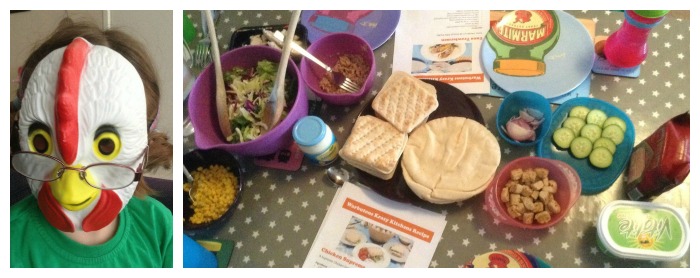
Warburtons Krazy Kitchen

Yes, that is my child with a mask on and her glasses on top.

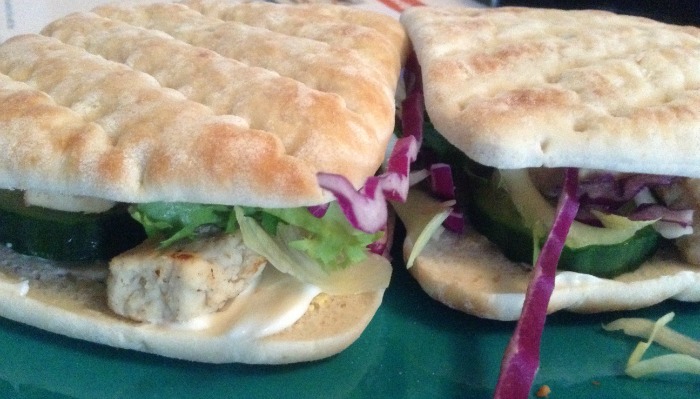
To help celebrate, Warburtons sent us a hamper of food to help create some of the recipes they’ve featured. I’m vegetarian so have adapted the Tuna Trawlermen sandwich (using Warburtons white sandwich pitta breads) and the Chicken Supreme (using Warburtons Sandwich Thins) – Shaun and H had the tuna and chicken as they eat animal products.

With it being H’s fourth birthday today and all the party preparation that comes with it, a quick filling sandwich is ideal for us – there’s so much to get ready – there’s no need for any craziness in our kitchen, it’s pretty manic at the moment anyway!

Warburtons Krazy Kitchen Tuna

The Tuna Trawlermen sandwich was quick to make, however we found the pittas difficult to hold together – not the end of the world but I do like a pitta to hold its contents! We put low-fat spread in each half, added cheese and salad and added tuna and sweetcorn (or quorn in my case) and a bit of red onion. I liked that the pittas are broken into two and come in a circular shape

The Chicken supreme was a much more straightforward sandwich, really nice and soft and it was the right size to hold the contents in – hand-sized. For this one I spread some low-fat spread onto the bread, added some cucumber and red onion and some salad. After that I added a little bit of mayonnaise and added the quorn. Shaun and H had chicken. The bread is quite soft and moist which meant we didn’t need to use much so it didn’t feel dry which was good.

Warburtons Krazy Kitchen Quorn

H liked that she could make her own sandwiches with whatever she wanted! So we had a bit of a Warburtons Krazy Kitchen going on in our house!

We generally make our own bread, but I feel like we’d definitely buy the sandwich thins, they were interesting and filling and quick to prepare. I also likes the packages were resealable which is handy when you don’t use them all at the same time.

You can see the final instalment of the Warburtons Krazy Kitchen here today (as well as all the previous ones) – who will win?

The first three episodes can be watched here.

We received payment and a hamper to feature this video. All opinions are our own and honest.

Easy No-Cook Brownies

Here’s our slightly modified easy no-cook brownies recipe!

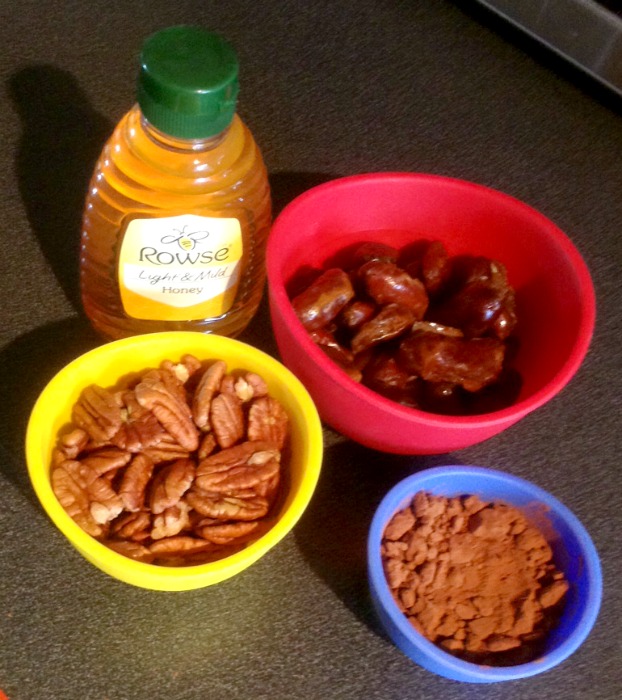
To make these no-cook brownies you need the following :

1 cup of pecans

1 cup of dates

a third of a cup of cocoa powder

one small person for squishing (not literally, just for the mixture, honest).

no-cook brownie ingredients

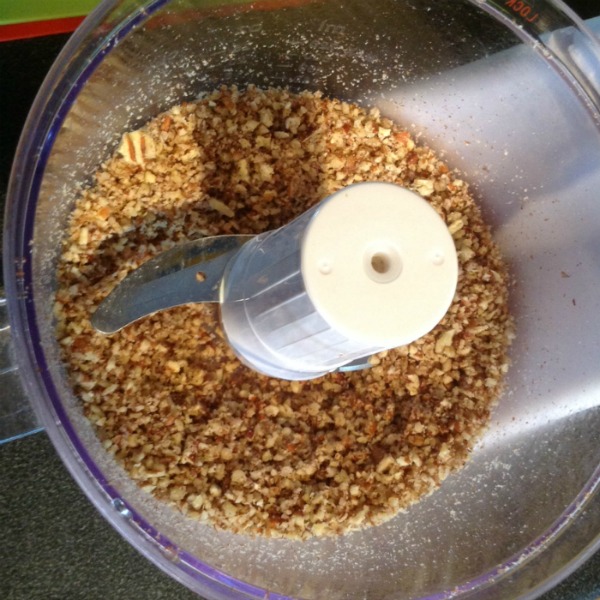
I blasted the pecans in my processor until they looked like this.

pecan no-cook brownie

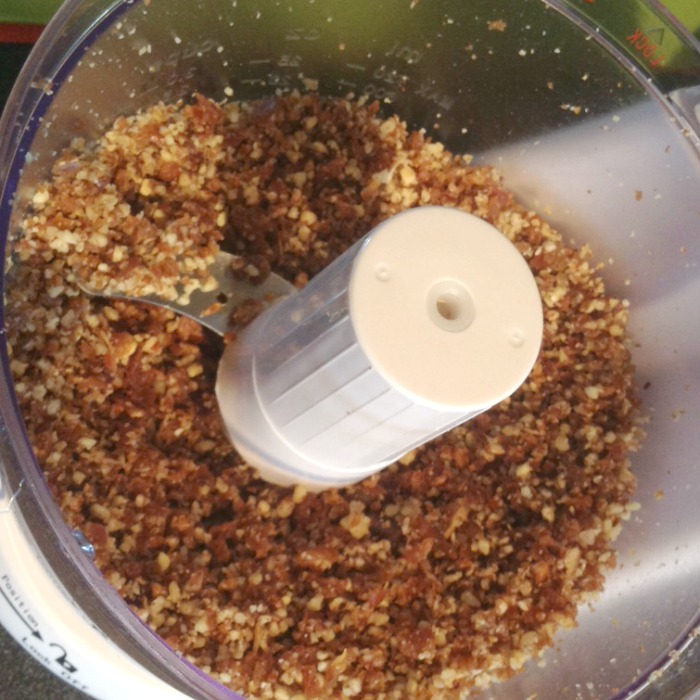
Add the dates and process them again.

pecan and date no-cook brownie

Then finally added the cocoa powder.

The no-cook brownies mixture felt a bit dry so I added some honey to make it a bit stickier (a not too generous squeeze, enough to make it moist but not sticky).

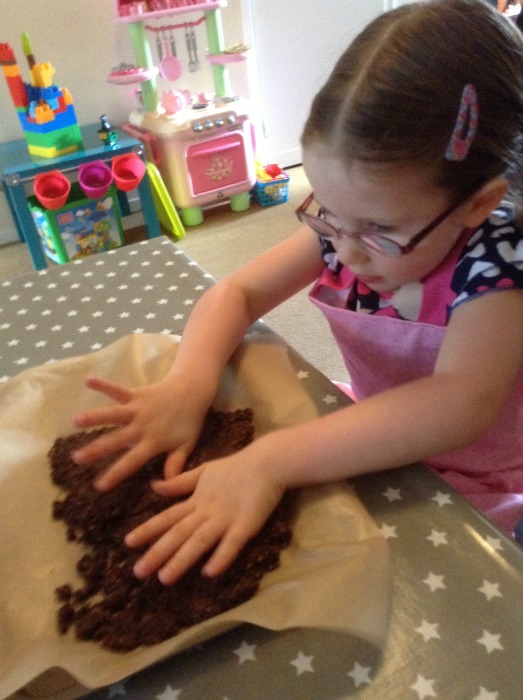
After that it was a case of lining a tray with greaseproof paper, and getting H to squish the mixture so it was nice and flat.

chief no-cook brownie squisher

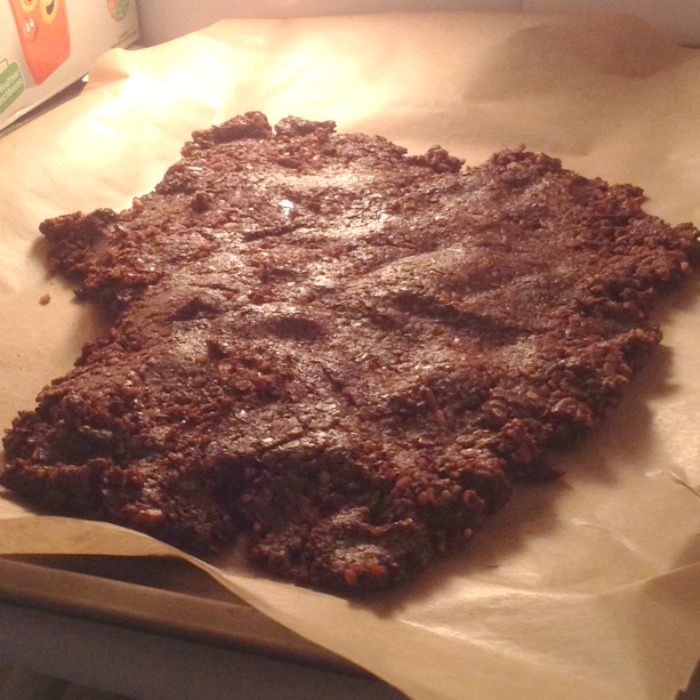
Put the no-cook brownies in the fridge to set….

pecan and date no-cook brownie

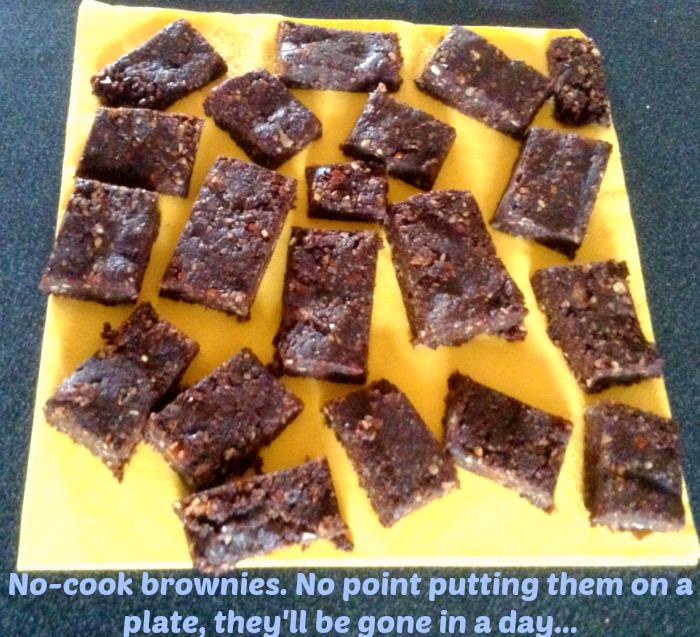
All you need to do after that is cut the brownies into pieces and try not to scoff it all at once. The no-cook brownies are really light, feel healthy, quite chocolatey (so if you want to reduce it, add less cocoa) and stick together well.

no cook brownies

This recipe is adapted from here and here.

Grow Your Own Crops In Pots by Kay McGuire

Grow Your Own Crops In Pots by Kay McGuire is a book we’re getting a lot from. The author McGuire is Kew-trained, so we’re putting our trust in her – and so far it’s all good!

Vegetable Wine Box - Grow Your Own Crops in Pots

Grow Your Own Crops In Pots is a book by Kay McGuire, covering something ideal for our inner-London lives – we rent, we don’t have a garden and we’re not about to join a waiting list for an allotment.

Having said that, we do have a back yard. Shaun picked up Grow Your Own Crops in Pots when The Book People came to his work and it’s been an interesting read. It breaks down over sixty fruit, herbs and vegetables and shows good ways to plant them – even in the smallest of spaces.

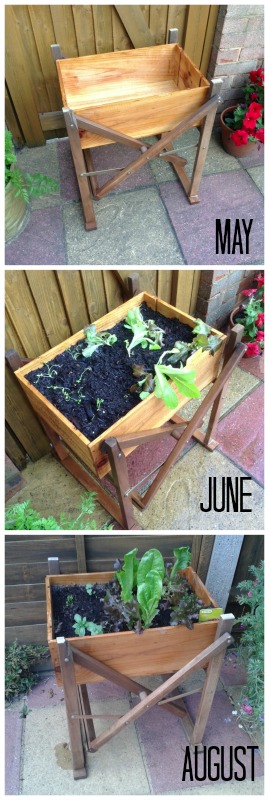
One thing we’ve done is to make an old wine box into a salad garden. Back in March one of our chairs in the garden broke, and now makes a handy wine box salad garden stand! It would never have occurred to us had we not had this book – and the wine box was sat in the shed doing nothing.

So, what to do? Get your wine box, drill some holes in the bottom, add soil and that’s it. Shaun also varnished it to keep it watertight as much as possible.

So look – this is how it started and this is what it’s like now – we’ve been eating salad every night this week fresh from the back yard.

H got some free seeds from Pizza Express and we’ve some mint growing there too – can’t wait to try it!

Were it not for Grow Your Own Crops in Pots we’d probably still be buying shop-bought salad – this way it involved minimal effort and the lettuce just keeps on growing. (n.b we bought lettuce from a garden centre, next year we’ll do it from scratch, okay?)

You can find Grow Your Own Crops in Pots here at Amazon

Movie Night – What We Ate

Who’s in for Movie Night?

Movie Night is something we do from time to time, get H bathed and ready for bed, make some nice food to eat and settle down in front of the tv with a film she’s chosen.

Tonight we’re watching Mary Poppins, I managed to brainwash H quite well so I’m happy with that – it’s one of her favourite films. Our movie food is going to be simple and home made – two pizzas and a garlic bread, a salad, and some blueberry and pear ice cream. We have all the ingredients to make it so it’s going to be a pre-payday cheap treat – good job really as the car insurance is due next week!

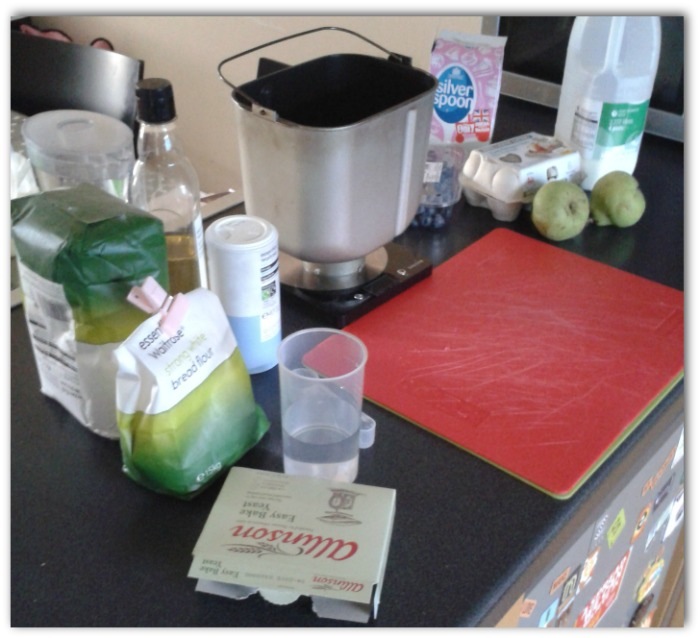
So you start off with your ingredients, the breadmaker and ice cream maker on hand. The dough for pizza (300g strong white flour, 1 tbsp olive oil, 1 tsp salt and 1/2 tsp yeast plus 170ml water) takes 45 minutes and the ice cream takes around 40 once you’ve made the mixture. I got everything ready nice and early so it would be ready for a 5.30pm start.

movie night Food Prep

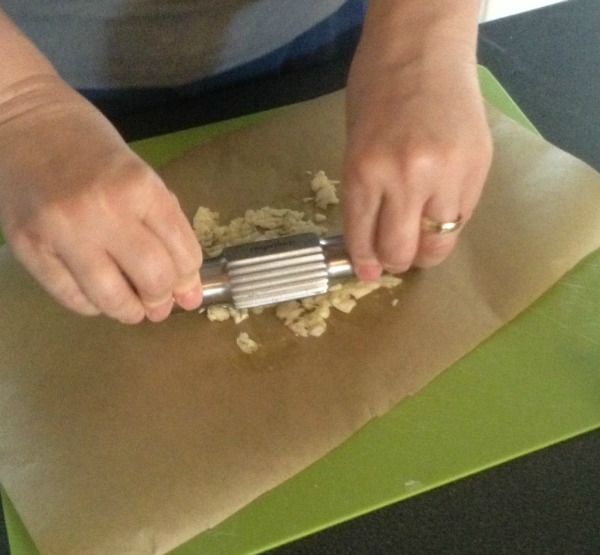
I crushed the fresh garlic with my favourite contraption the Royal VKB garlic crusher. I bought it years ago and still use it a lot – the biggest plus point – you can wash your hands with it afterwards and it gets rid of the smell on your fingers. It crushes up the garlic really nice and chunky too.

crushing garlic with the Royal VKB garlic crush for movie night

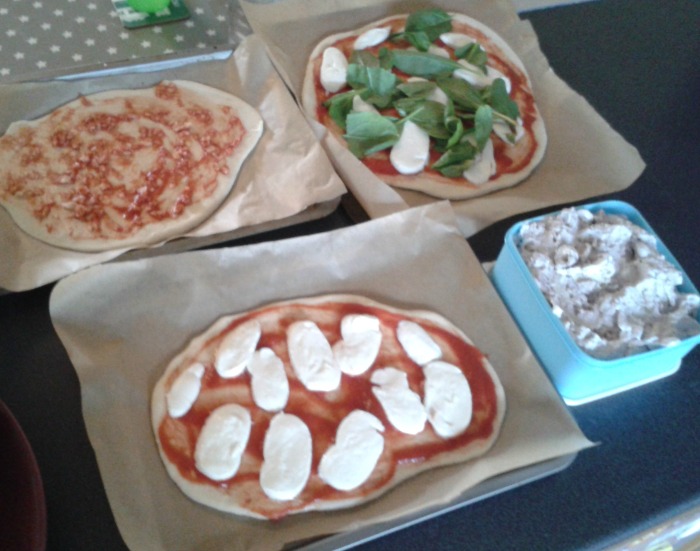
You get the food prepped and it’s almost time with it looking like this (this is about the time we realise our greaseproof paper isn’t very good and we need a pizza stone):

Food made for movie night

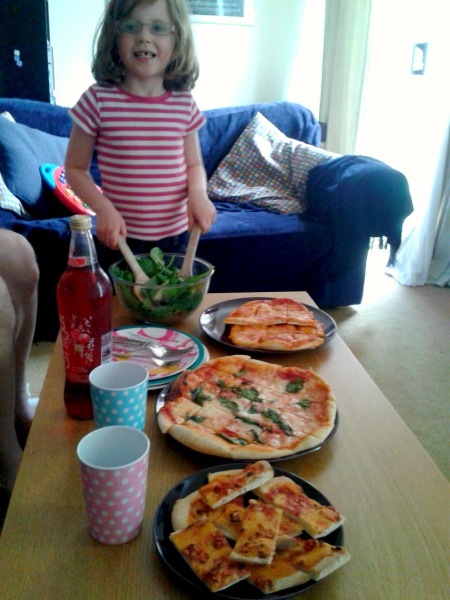
Pop in the oven for 20 minutes or so, and then before you know it it’s time for movie night :

dinner is served for movie night

I think it’s all a bit Supercalifragilisticexpialidocious myself. Spit spot.

 (this post contains an affiliate link)

Banana and Egg Pancakes with Fruit Splodge

Recently a friend, Kelly, posted a recipe for Banana and Egg pancakes – so we had to give them a go as they look so easy.

Banana and egg pancakes are a really simple meal to make with just two ingredients. We added a fruit topping to it which in our usual style was a little over the top…
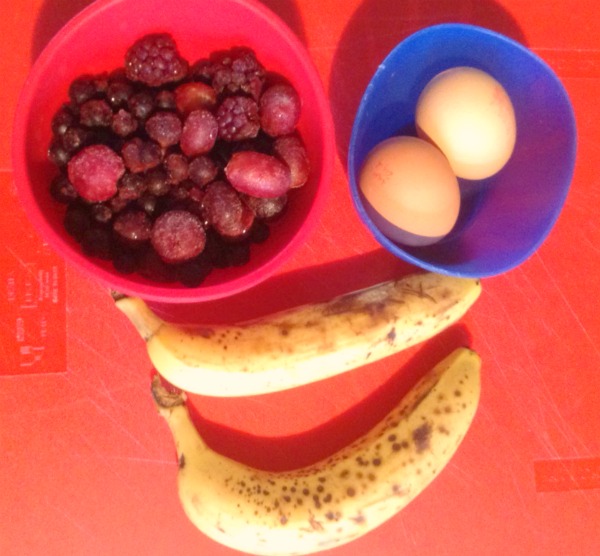
banana pancakes ingredients

What you need :

for the banana and egg pancakes:

a ripe banana
two eggs

small frying pan
oil for frying

for the fruit splodge:

however much frozen fruit you want (any fruit will do, but I like the cold of frozen fruit)
half a banana (chilled)
a splash of milk

banana pancakes

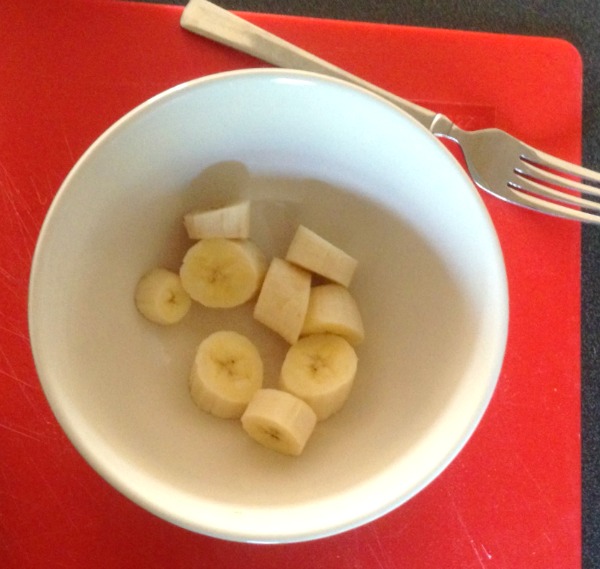
Get the banana and mash it up until there are very few lumps left – the riper the banana the better as otherwise they can be quite stiff.

banana pancakes

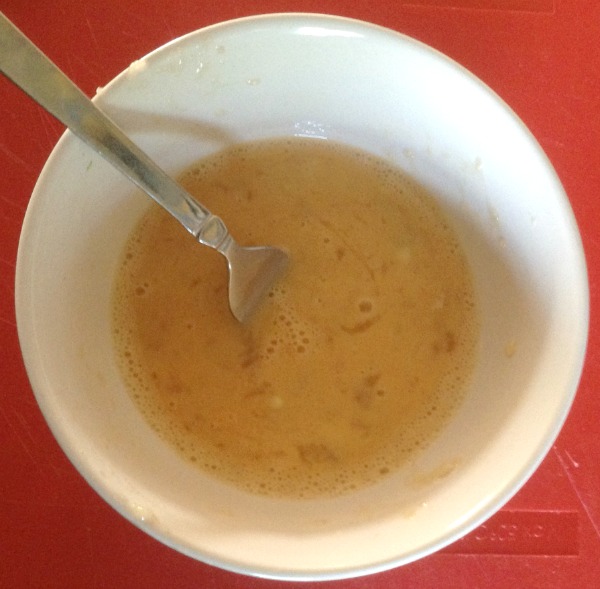
Add the two eggs. Beat the mixture until it’s a pancake-like mixture. A lot will depend on how well mashed the bananas are.

banana pancakes

I then got one of my measuring cups and scooped the mixture, putting it into the pre-warmed pan. Remember these are pancakes you’re working with so you don’t need a lot of mixture.

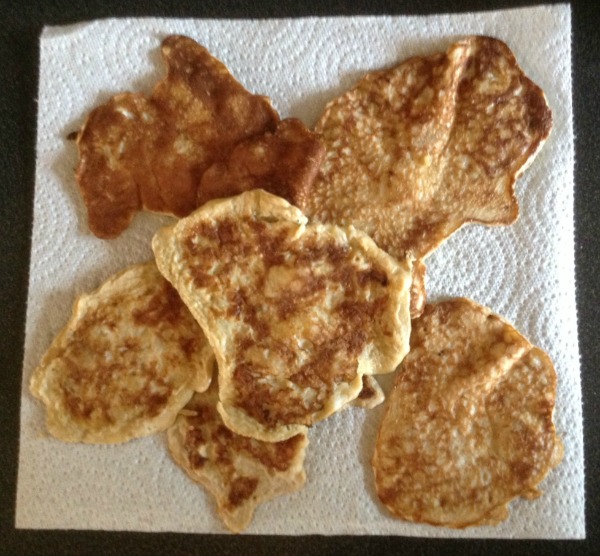
Each banana and egg pancake should take no more than 30 seconds to brown – turn them over and do both sides. They can burn easily so don’t forget they’re there. The mixture will make approximately 8 small pancakes or 5 bigger ones.

Once each banana and egg pancake is cooked, place on some kitchen roll to cool.

banana pancakes

Fruit splodge

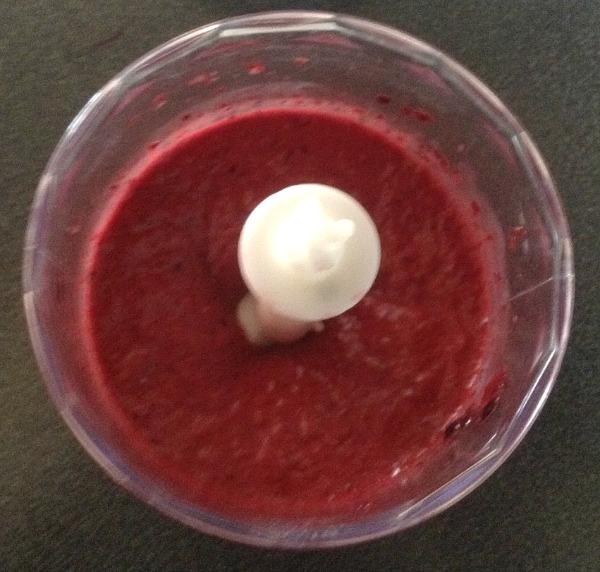
Get your frozen fruit (we’ve tried with frozen blueberries and with frozen black forest fruits from the Waitrose Essentials range) and put into a blender. Blend.

fruit splodge

Once the mixture looks like this, add half a banana. I have no idea why but it gives it a bit of an extra thickness. I add a tiny bit of milk too, and the mixture feels a bit like ice cream but without the sugar and cream. It should be too thick to pour but too thin to scoop, and you’ve got it just right.

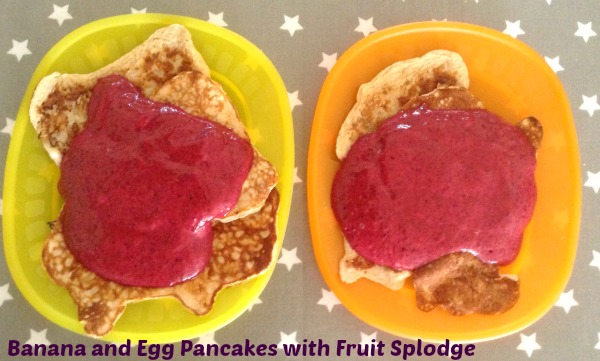
Spoon on top of the banana and egg pancakes. Find you’ve made way too much but it’s okay as it’s all pure fruit anyway.

banana and egg pancakes and fruit splodge

If you’re doing Weight Watchers the only things which would count are the eggs and milk for this which would come in at 2.5 points. They’re gluten-free and really filling too!

I think the preparation time is around five minutes, cook time the same.

A Cadbury Experiment -Making Home Made Ice Magic #cbias

Are you old enough to remember Ice Magic? We are, and wanted to try making some home made ice magic – read on…

Home made ice magic is something I’ve often wanted to try. It’s a runny chocolate topper you put on ice cream, and it solidifies once it makes contact with the cold, leaving a crunchy chocolate top – oh and you can’t buy it any more. I’ve been dying for SO long to attempt to make our own and found that all it requires is chocolate and coconut oil. Our tub of oil was nearly empty so we picked some up when we went shopping in Sutton, before heading to Asda to pick up some Cadbury chocolate to do the hard work. There’s a Google+ album here.

After that it was all down to the preparation – we needed to make home made ice cream with our home made Ice Magic, obviously!

Strawberry was the flavour we opted for – put into the ice cream maker with the simple ingedients of 300g fresh strawberries, 200g double cream, 200g skimmed milk, two egg yolks and 70g icing sugar. I’ve posted the base recipe on here before now. It took about twenty minutes to prepare and with the chilled bowl having been in the freezer for over 24 hours it was ready to be kept fluid and aerated while getting colder.

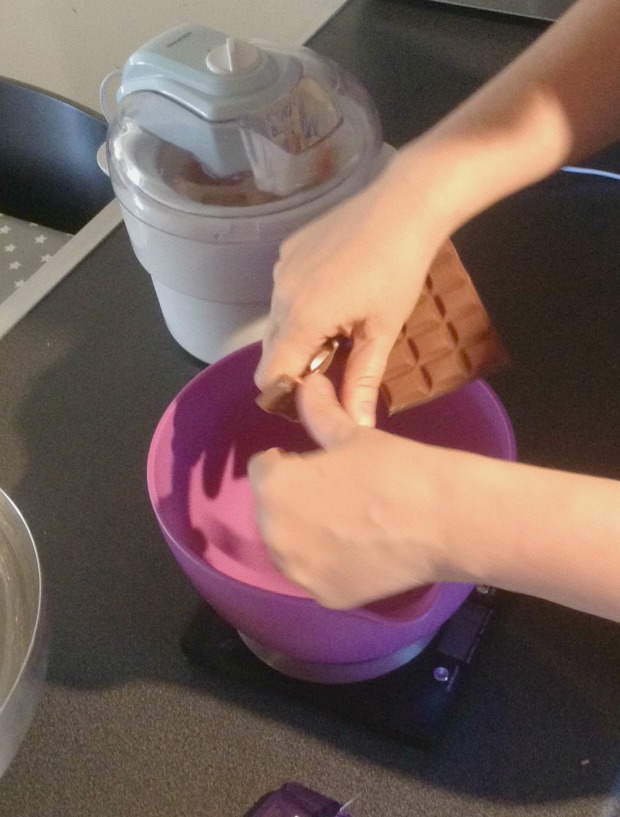
The experiment was next – our home made ice magic. I’ve been dying to try this for so long, so weighed out 200g of chocolate and broke it up. I used one plain Cadbury Dairy Milk and most of a Cadbury Dairy Milk with Oreo Cookies (this has bulked up the sauce and makes it hard to squeeze out of the bottle we’ve used, so I’d recommend a chocolate without extras).

breaking chocolate

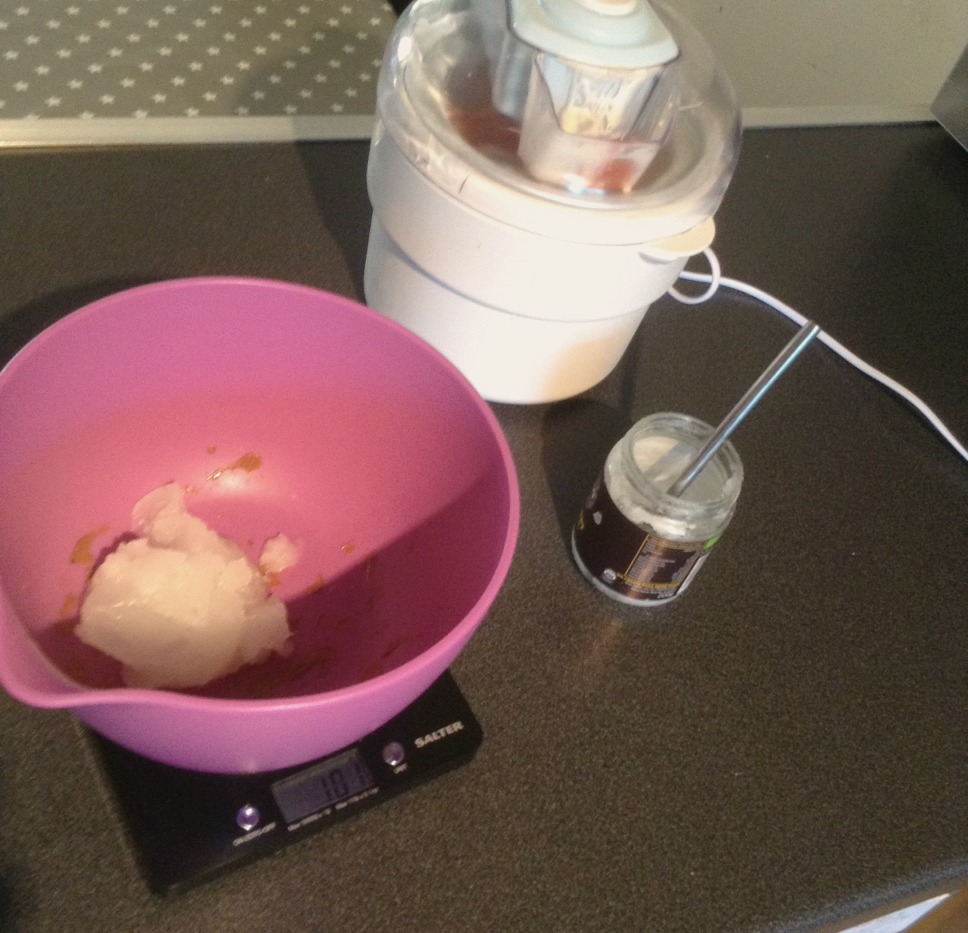
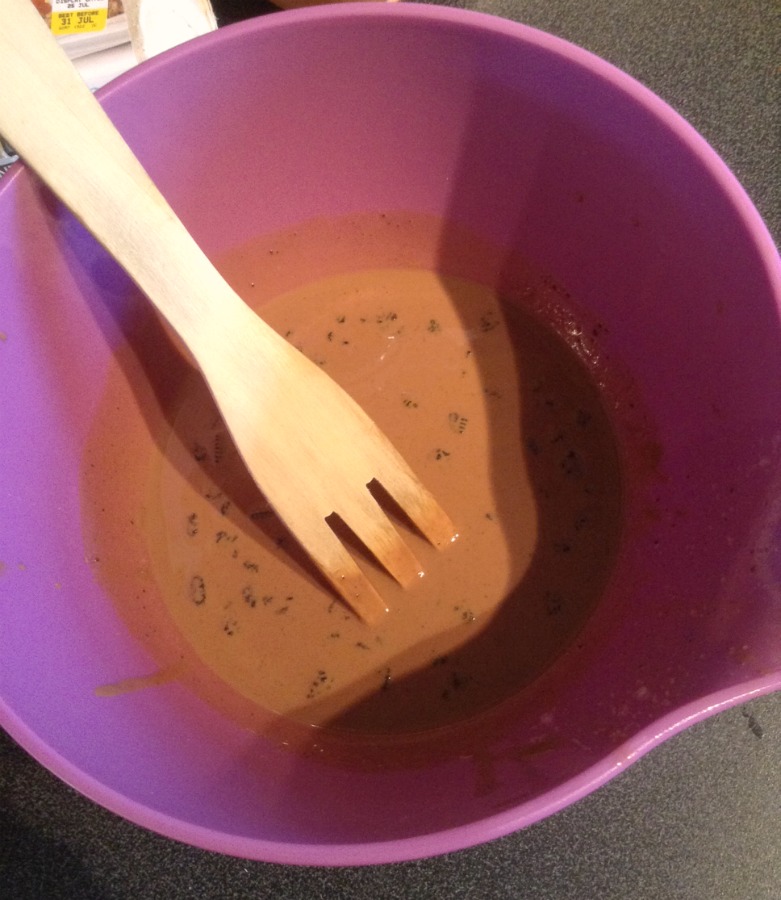
They were broken up and then melted over a pan of boiled water, and once smooth (with oreo bits in my case) I added 100g of coconut oil. The oil will stop the mixture from going solid (which is what you need it to do when it comes into contact with the cold ice cream). I’m wondering if this would also work for a fondue, so may have to try that another weekend…

coconut oil

Once the mixture was smooth looking (with bits of oreo floating in the top, sigh) I decanted it into an old ketchup bottle which made pouring over the ice cream much easier.

home made ice magic

It was ready but still soft so we put it in the freezer for a bit longer – you need it to be cold for the chocolate to set.

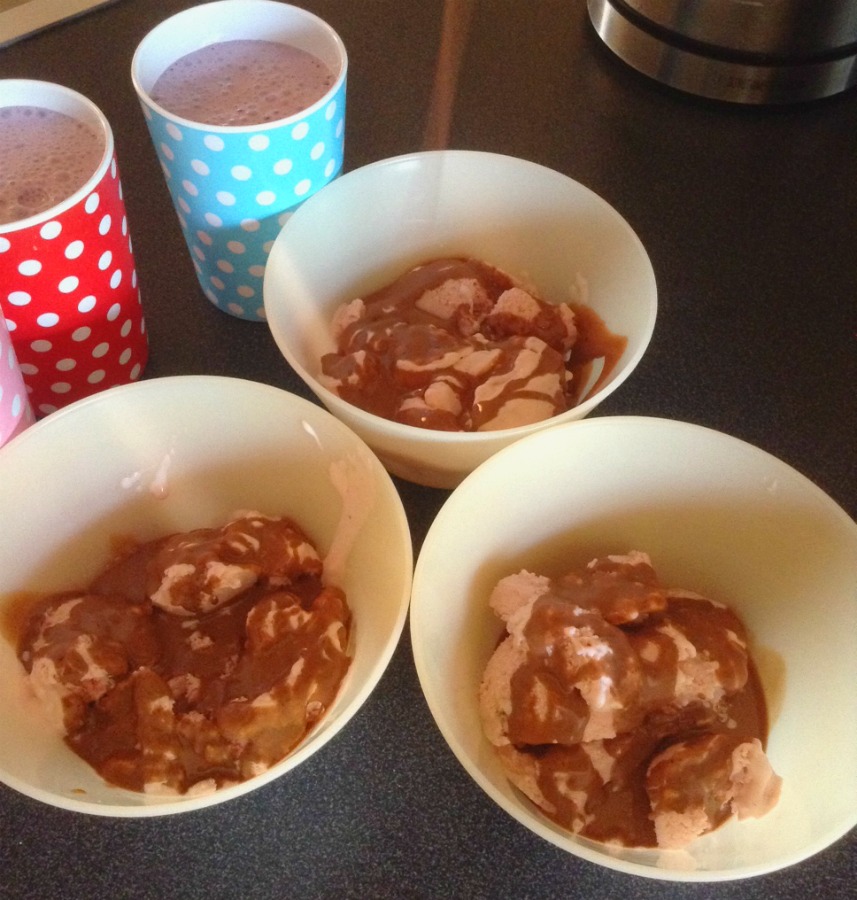
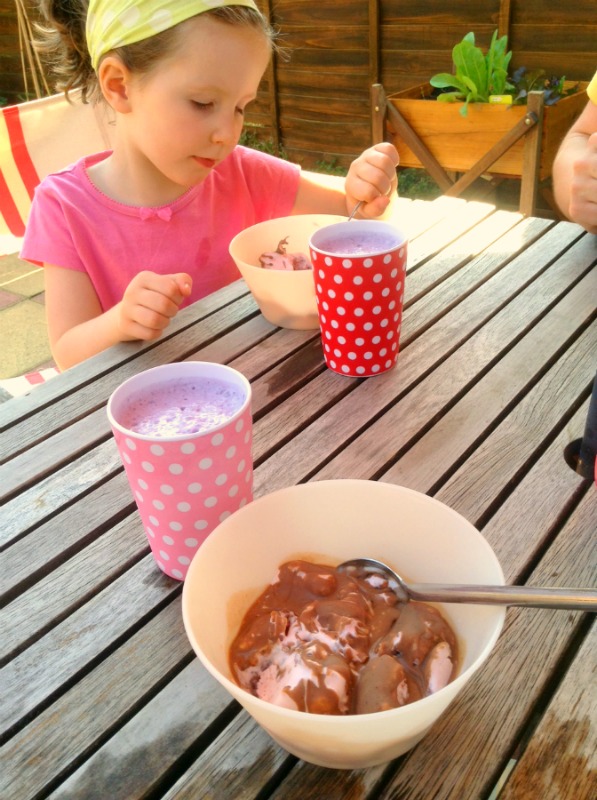
The result? The home made ice magic works! Genius! I squirted a bit too much over the ice cream, and Shaun – ever the doubter – told me I’d put too much on. By the time we’d taken it from the kitchen to outside it had set complete with the spoons stuck to the chocolate – a success!

Home Made Ice Magic - it works!

So if you want to try home made ice magic as well, it’s two parts chocolate to one part coconut oil. It leaves a thinner mixture but the colder the ice cream the better it will set and I’d like to think with the inclusion of coconut oil there’s a level of healthy in there too…

Home Made Ice Cream and Home Made Ice Magic

I am a member of the Collective Bias®  Social Fabric® Community.  This shop has been compensated as part of a social shopper insights study for Collective Bias and their client.

Easy Lunchtime Quesadillas

Easy lunchtime quesadillas are just that – easy. We don’t do difficult here.

Easy lunchtime quesadillas are something we like. They’re quick, straightforward and simple and quick to make. We did a vegetable quesadilla a while back and today as we started to run out of food we did an even simpler one,

You need :

wraps – we had a pack of six small ones
cheese  – any will do
salsa or passata  – depending on how much spice your child likes
a large frying pan  – to warm them up

easy lunchtime quesadillas

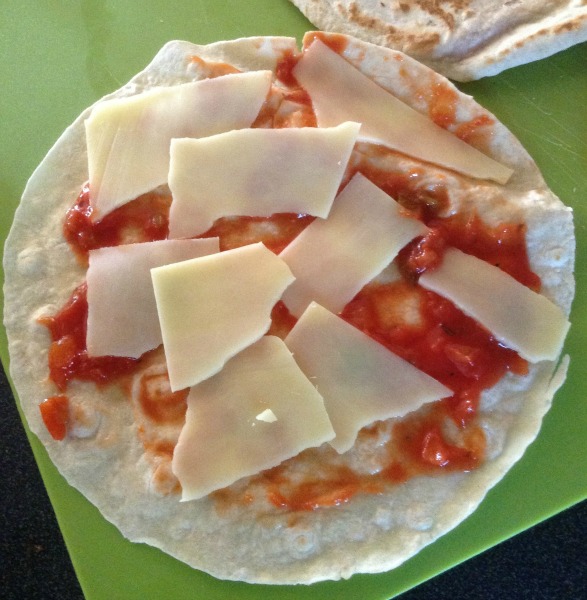
Simply put the salsa or passata on the wrap, and top with cheese – it doesn’t need to be neat, but keep it away from the very edge.

Place another wrap on top and try to make sure the mixture doesn’t squash out – the cheese will melt a bit and you don’t want melted cheese all over your frying pan.

easy lunchtime quesadillas

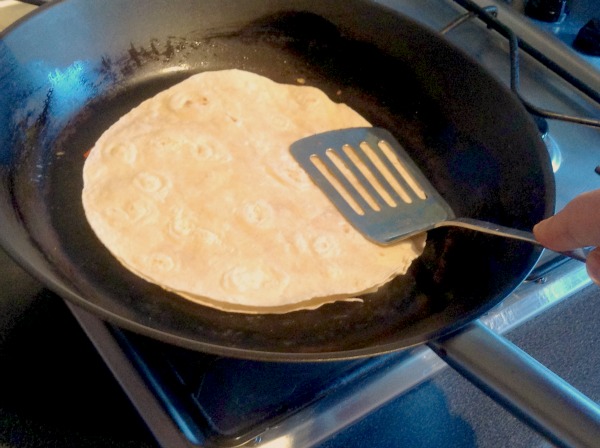
Place onto a non-stick frying pan (no oil needed – keep shuffling it like you would a pancake) and heat through well until the cheese has melted which is usually less than a minute.

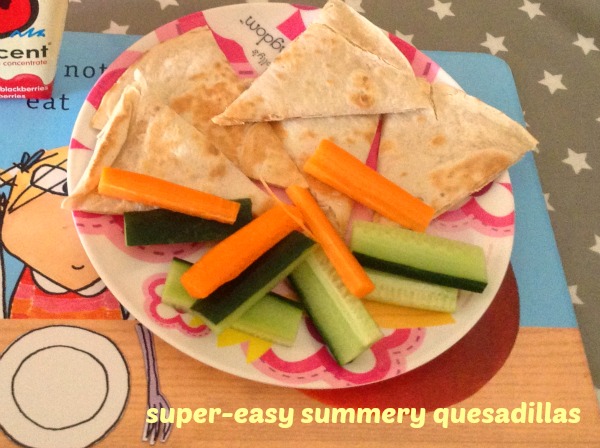
Serve with carrot and cucumber sticks and whatever dips you have handy. We had hummous and it was yummy!

easy lunchtime quesadillas

We think easy lunchtime quesadillas made the perfect quick summertime lunch. They took minimal time to prepare and they cooled down quickly which was handy as we didn’t have a lot of time.

Nutritional information – we used Weight Watchers Wraps and cheese, using one and a half slices of cheese and two wraps, keeping the overall calories down. Passata has zero points too.